Do you know that you can set up an ImoLaza controller in just 3 minutes? Here's a detailed guide to help you through the process. The setup process is simple and consists of two easy steps: preparation and connecting to your home WiFi.
For iOS users:
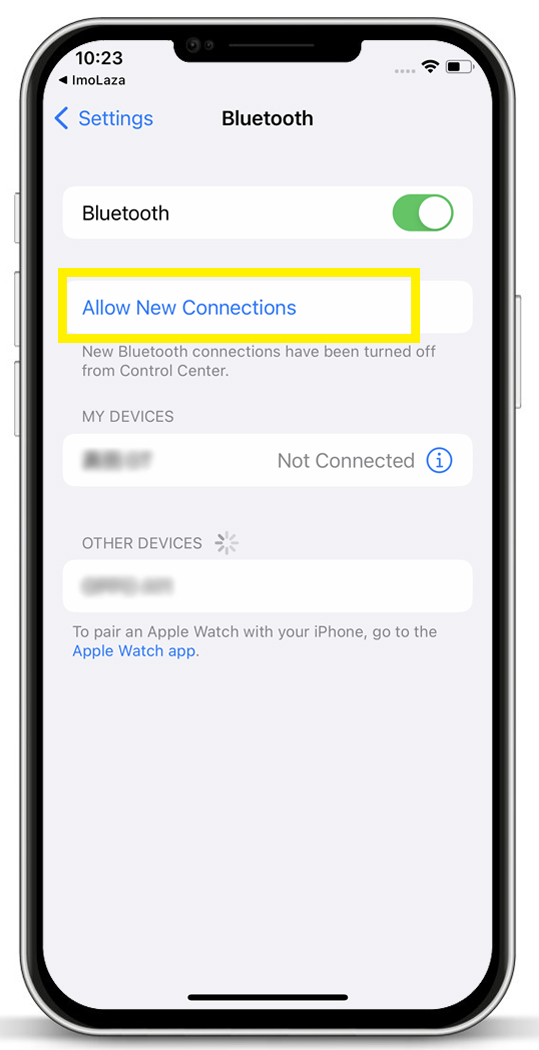
Let's start with the first step. First, ensure your device is ready and that Location and Bluetooth permissions are enabled. Swipe down from the top of the screen to access the control center, then tap the Bluetooth icon to turn it on.
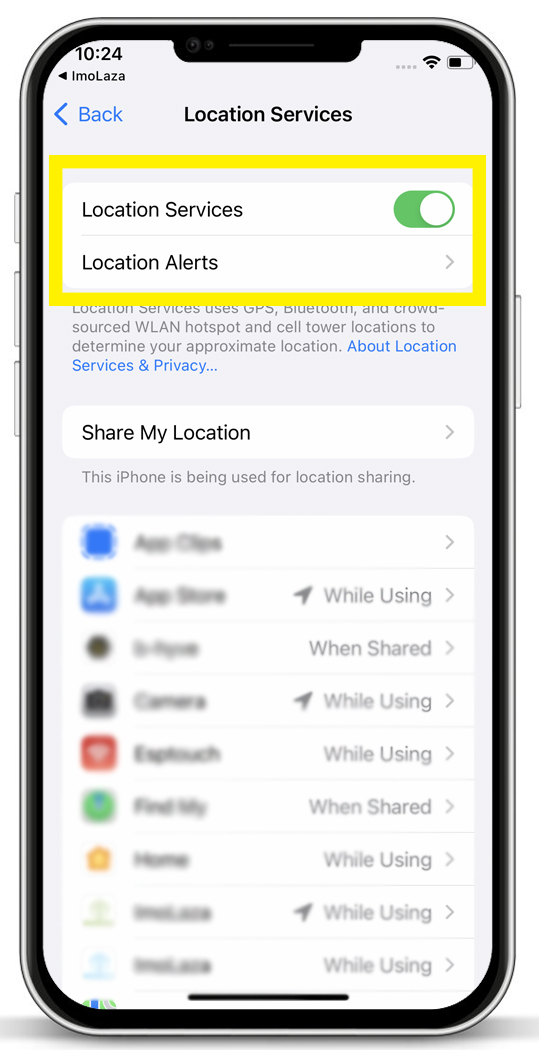
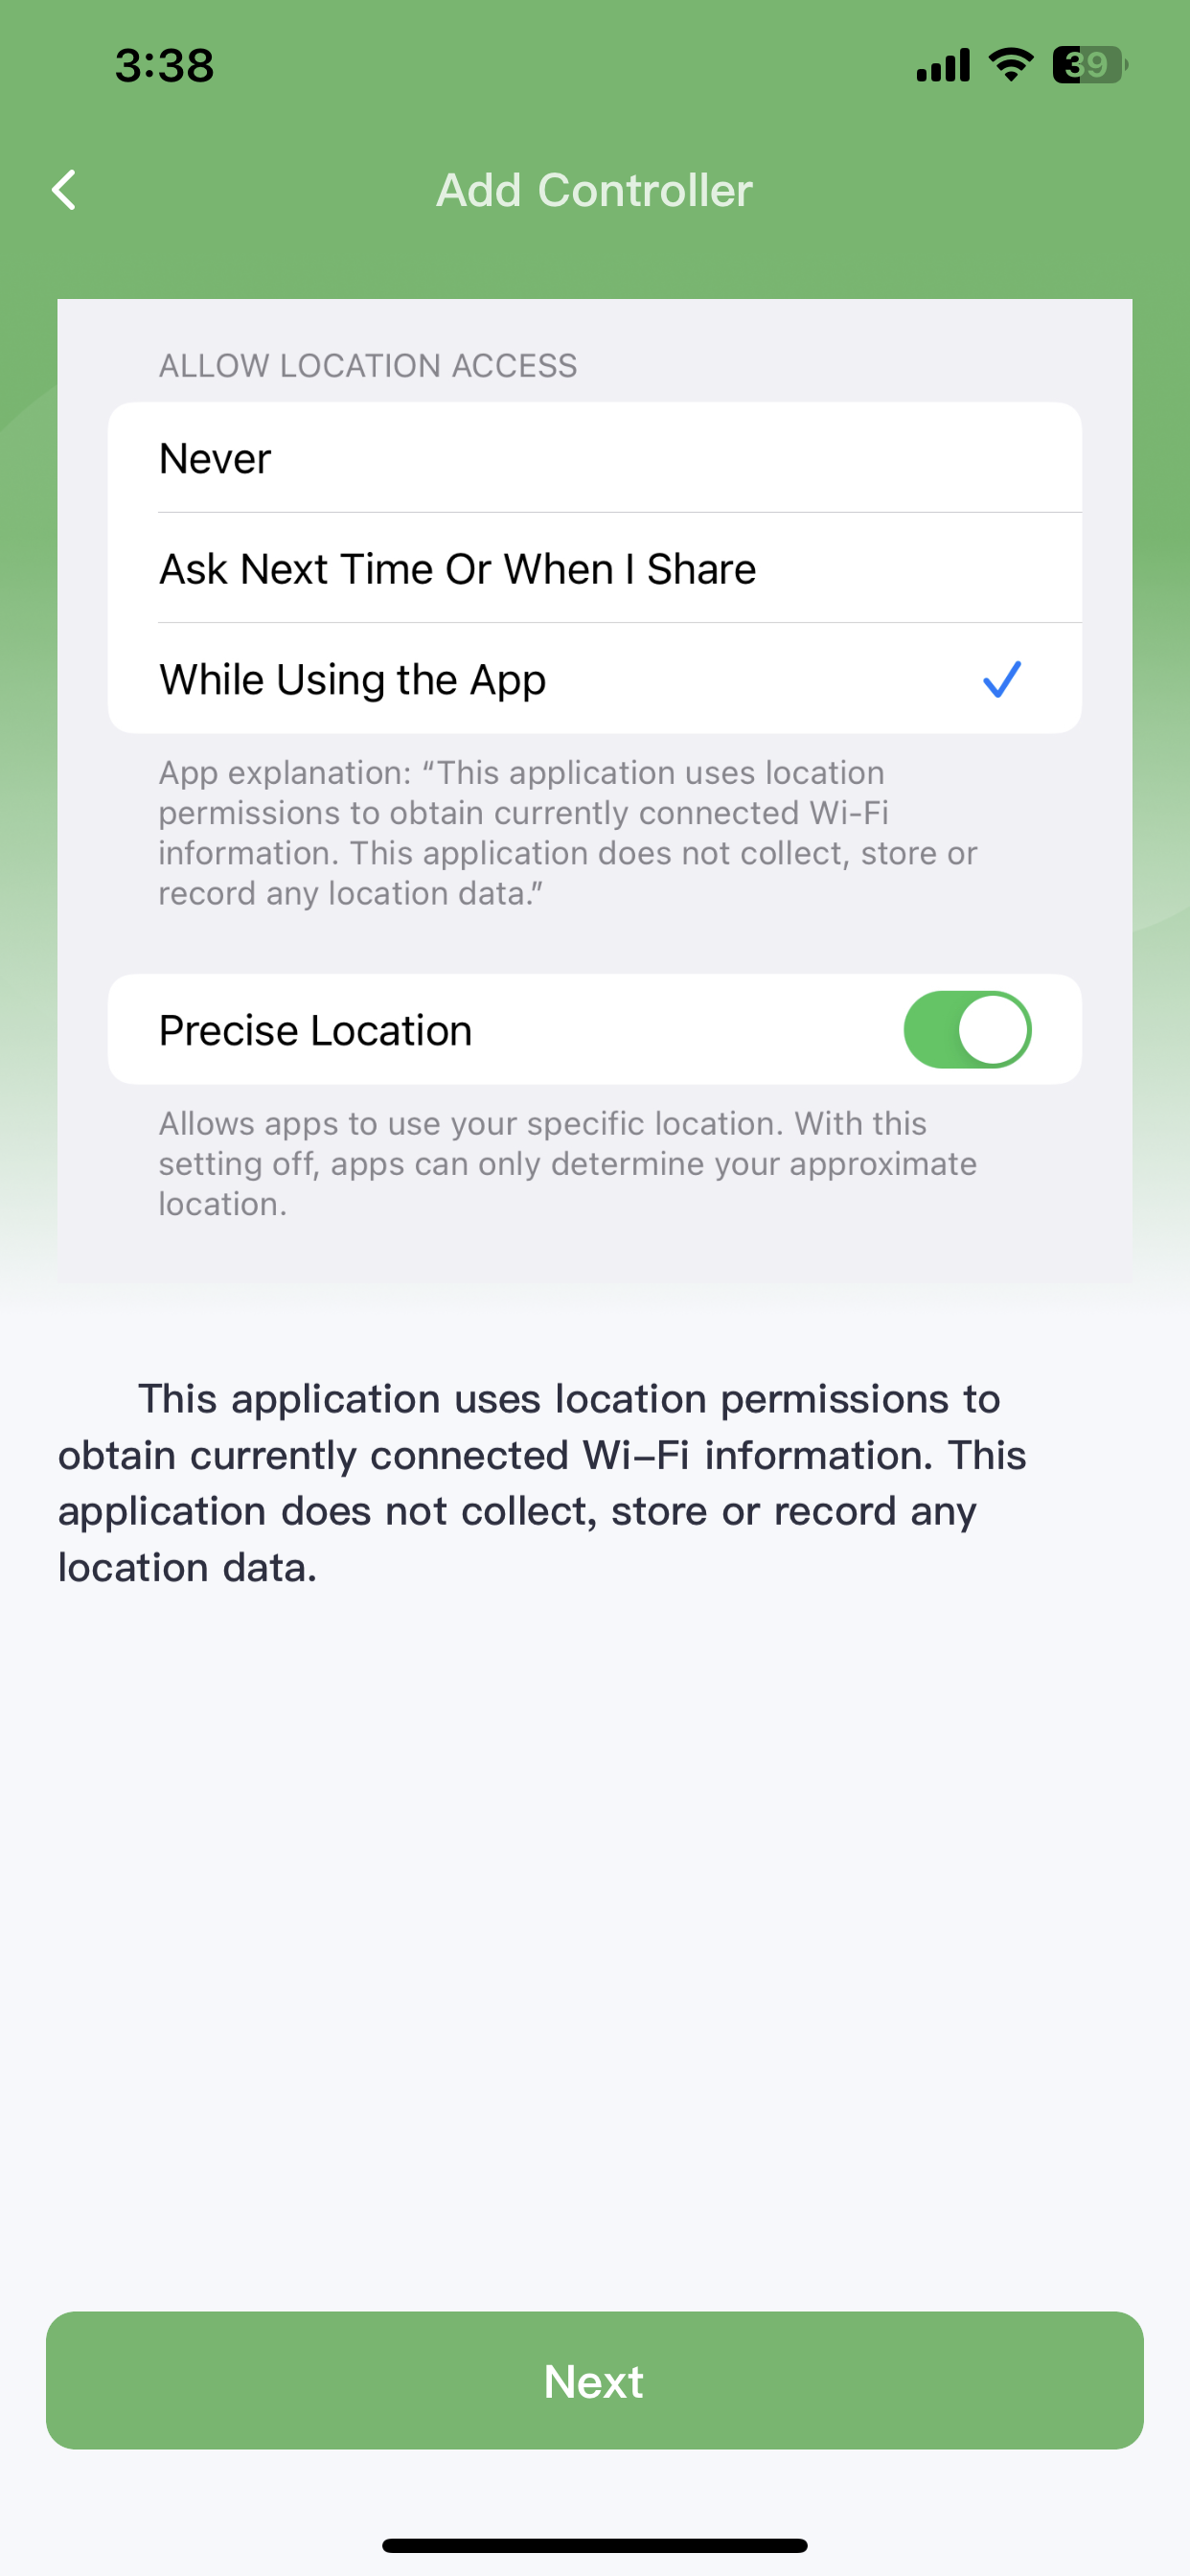
Next, go back to the home screen, tap "Settings," find "Privacy & Security," then tap "Location Services" and make sure it is turned on as well.
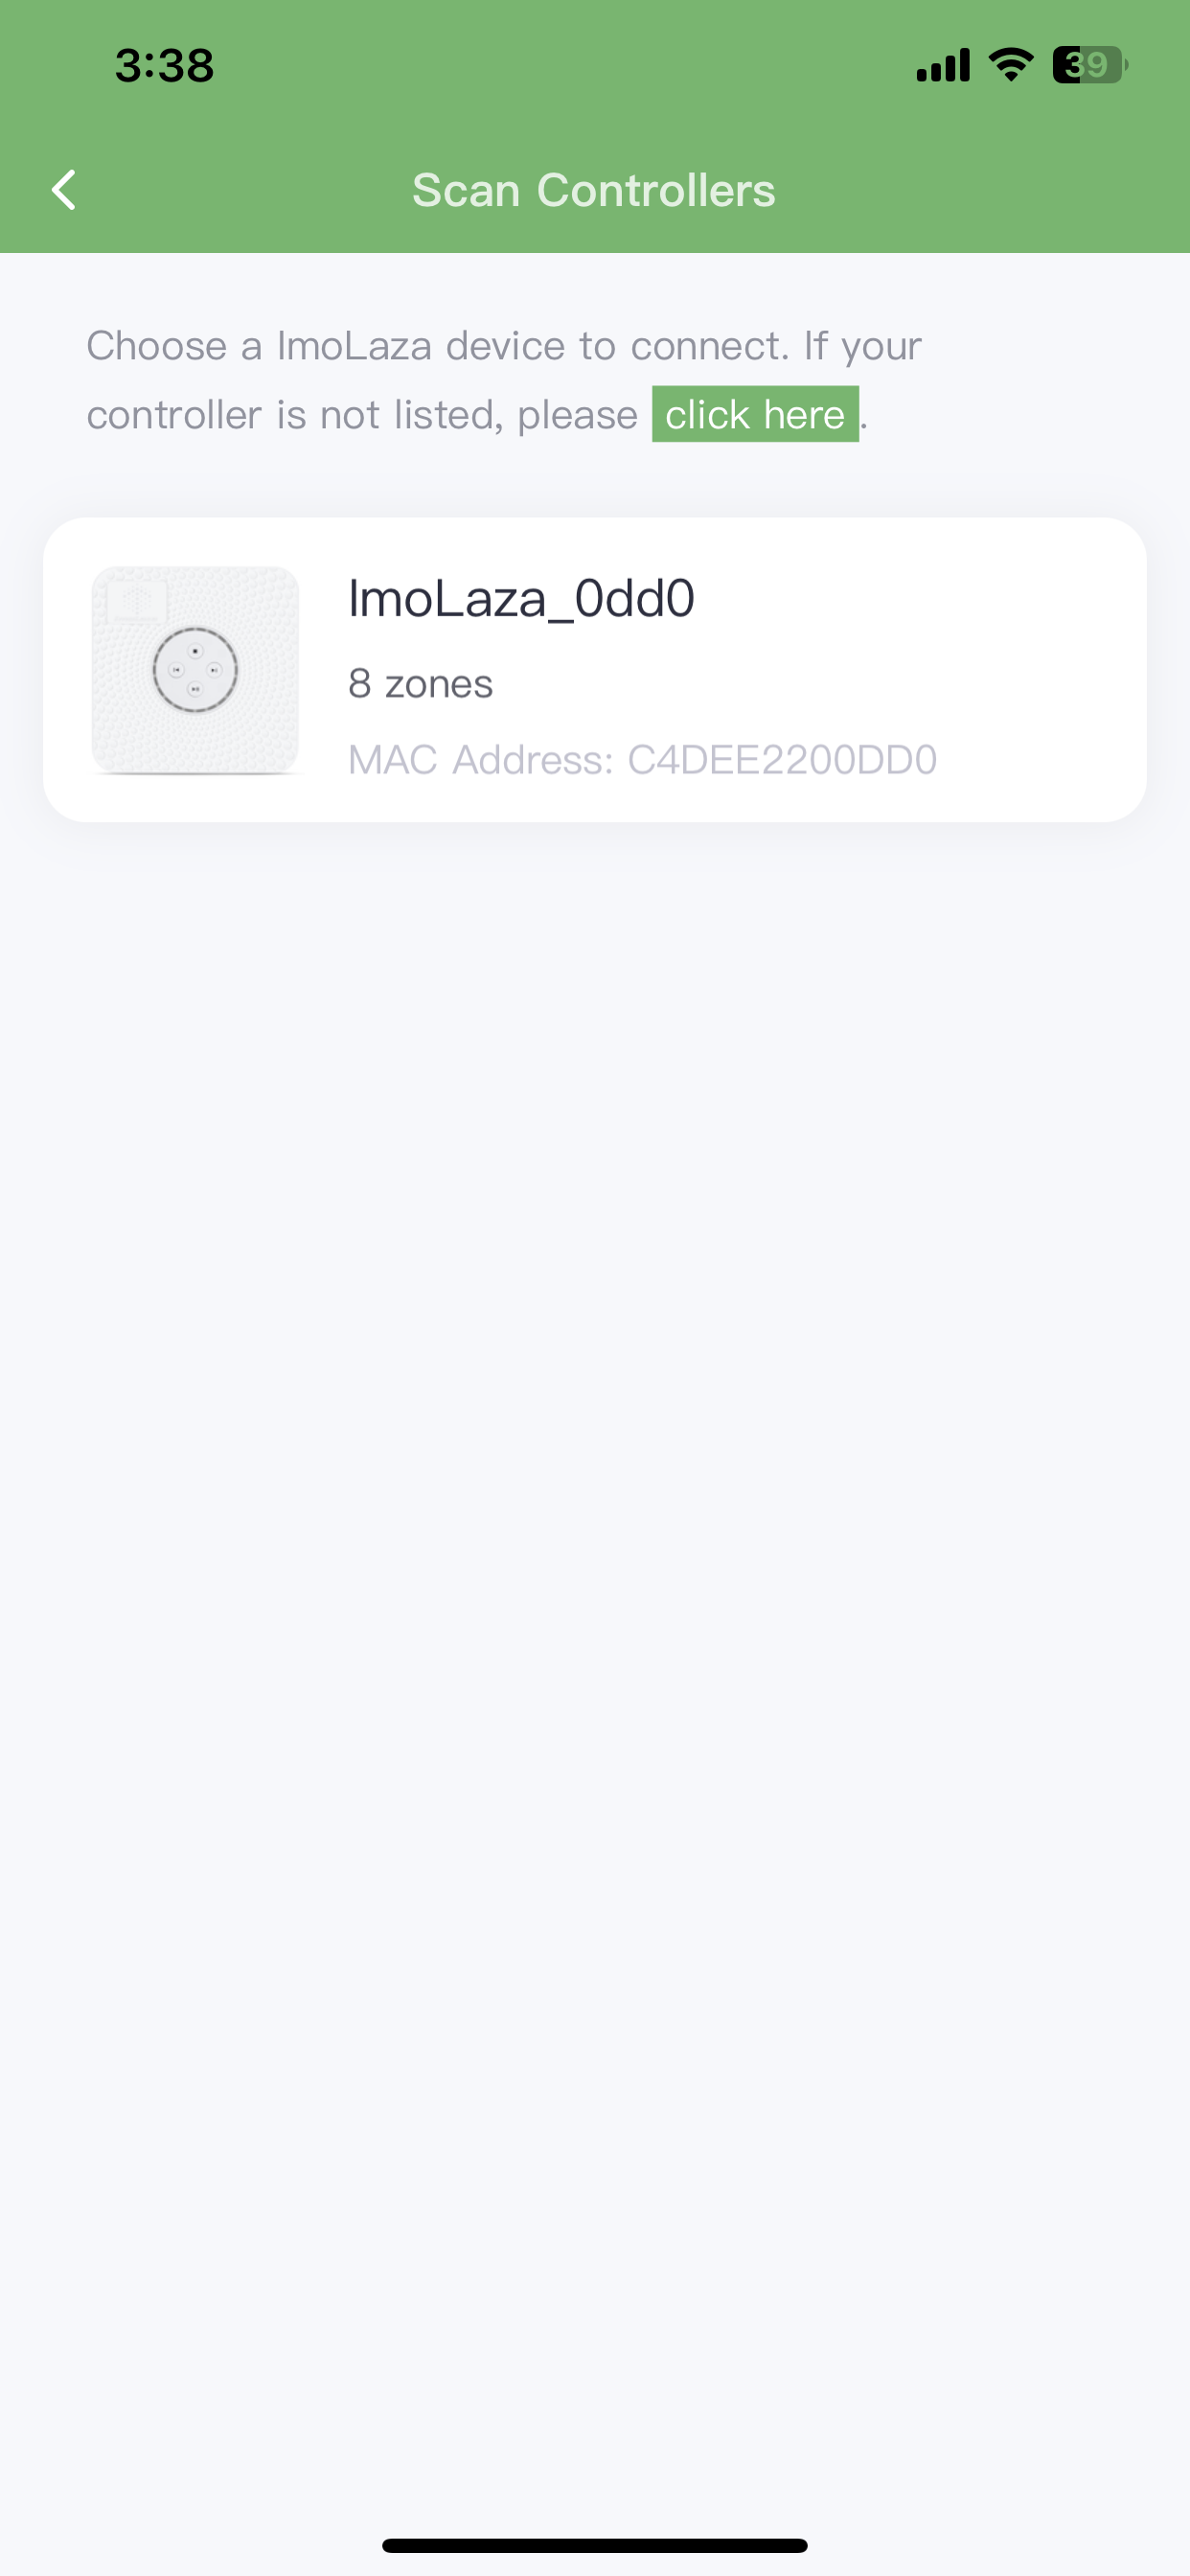
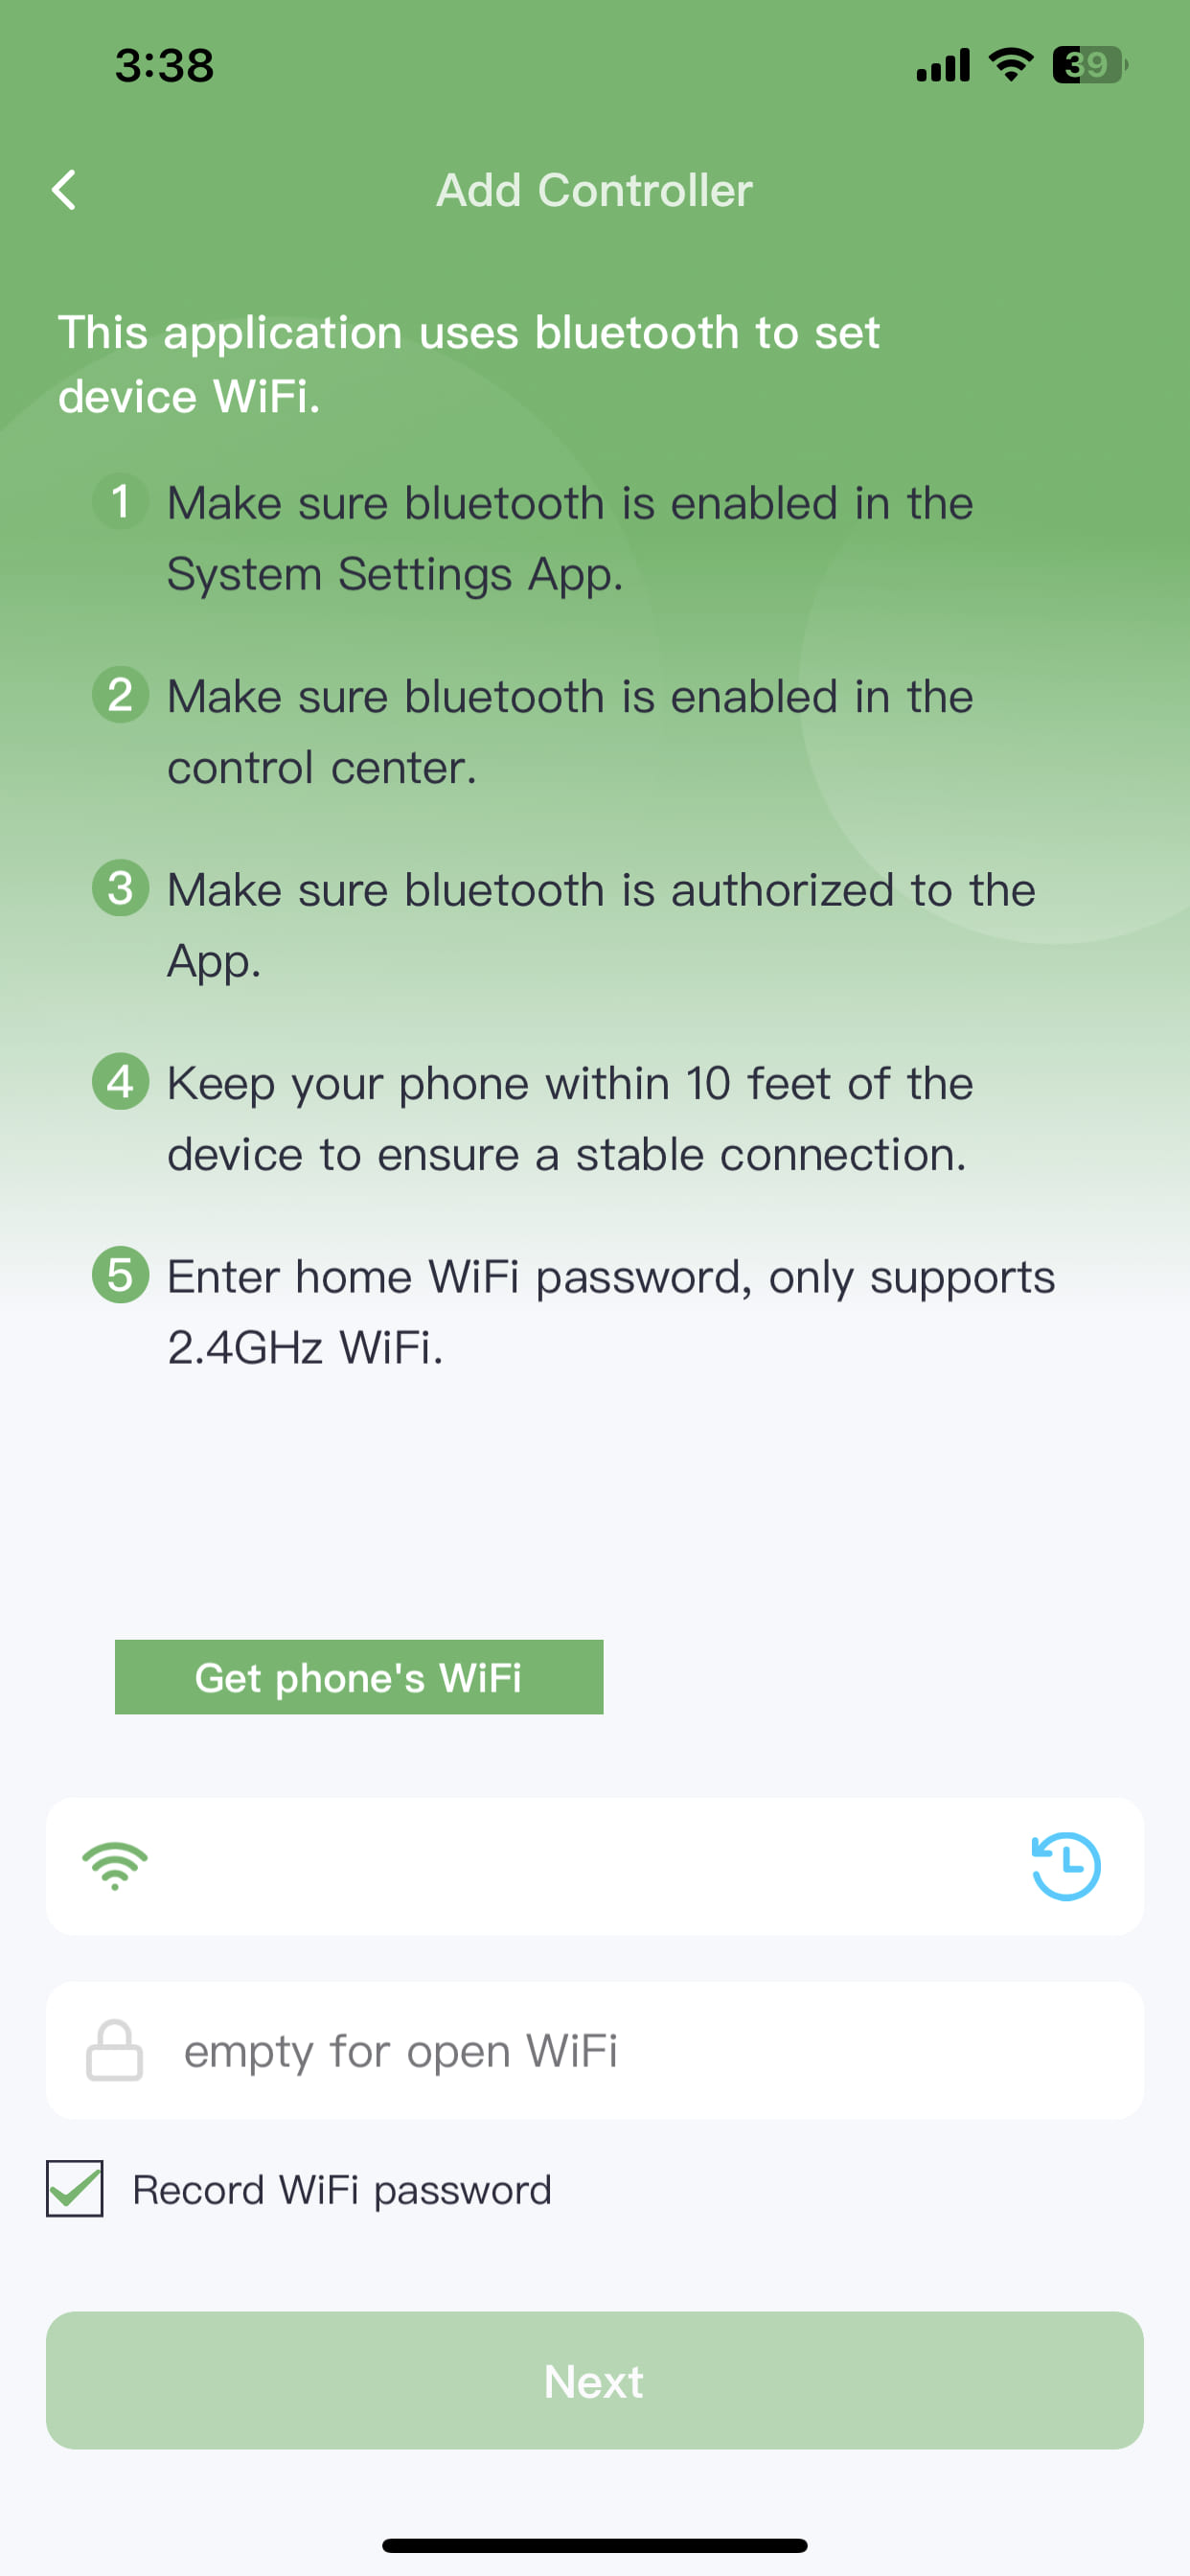
Now, proceed to the second step: connecting the controller to your home WiFi. Place your phone within 10 feet of the device. Wait for the app to scan for the device, then tap on your device when it appears.
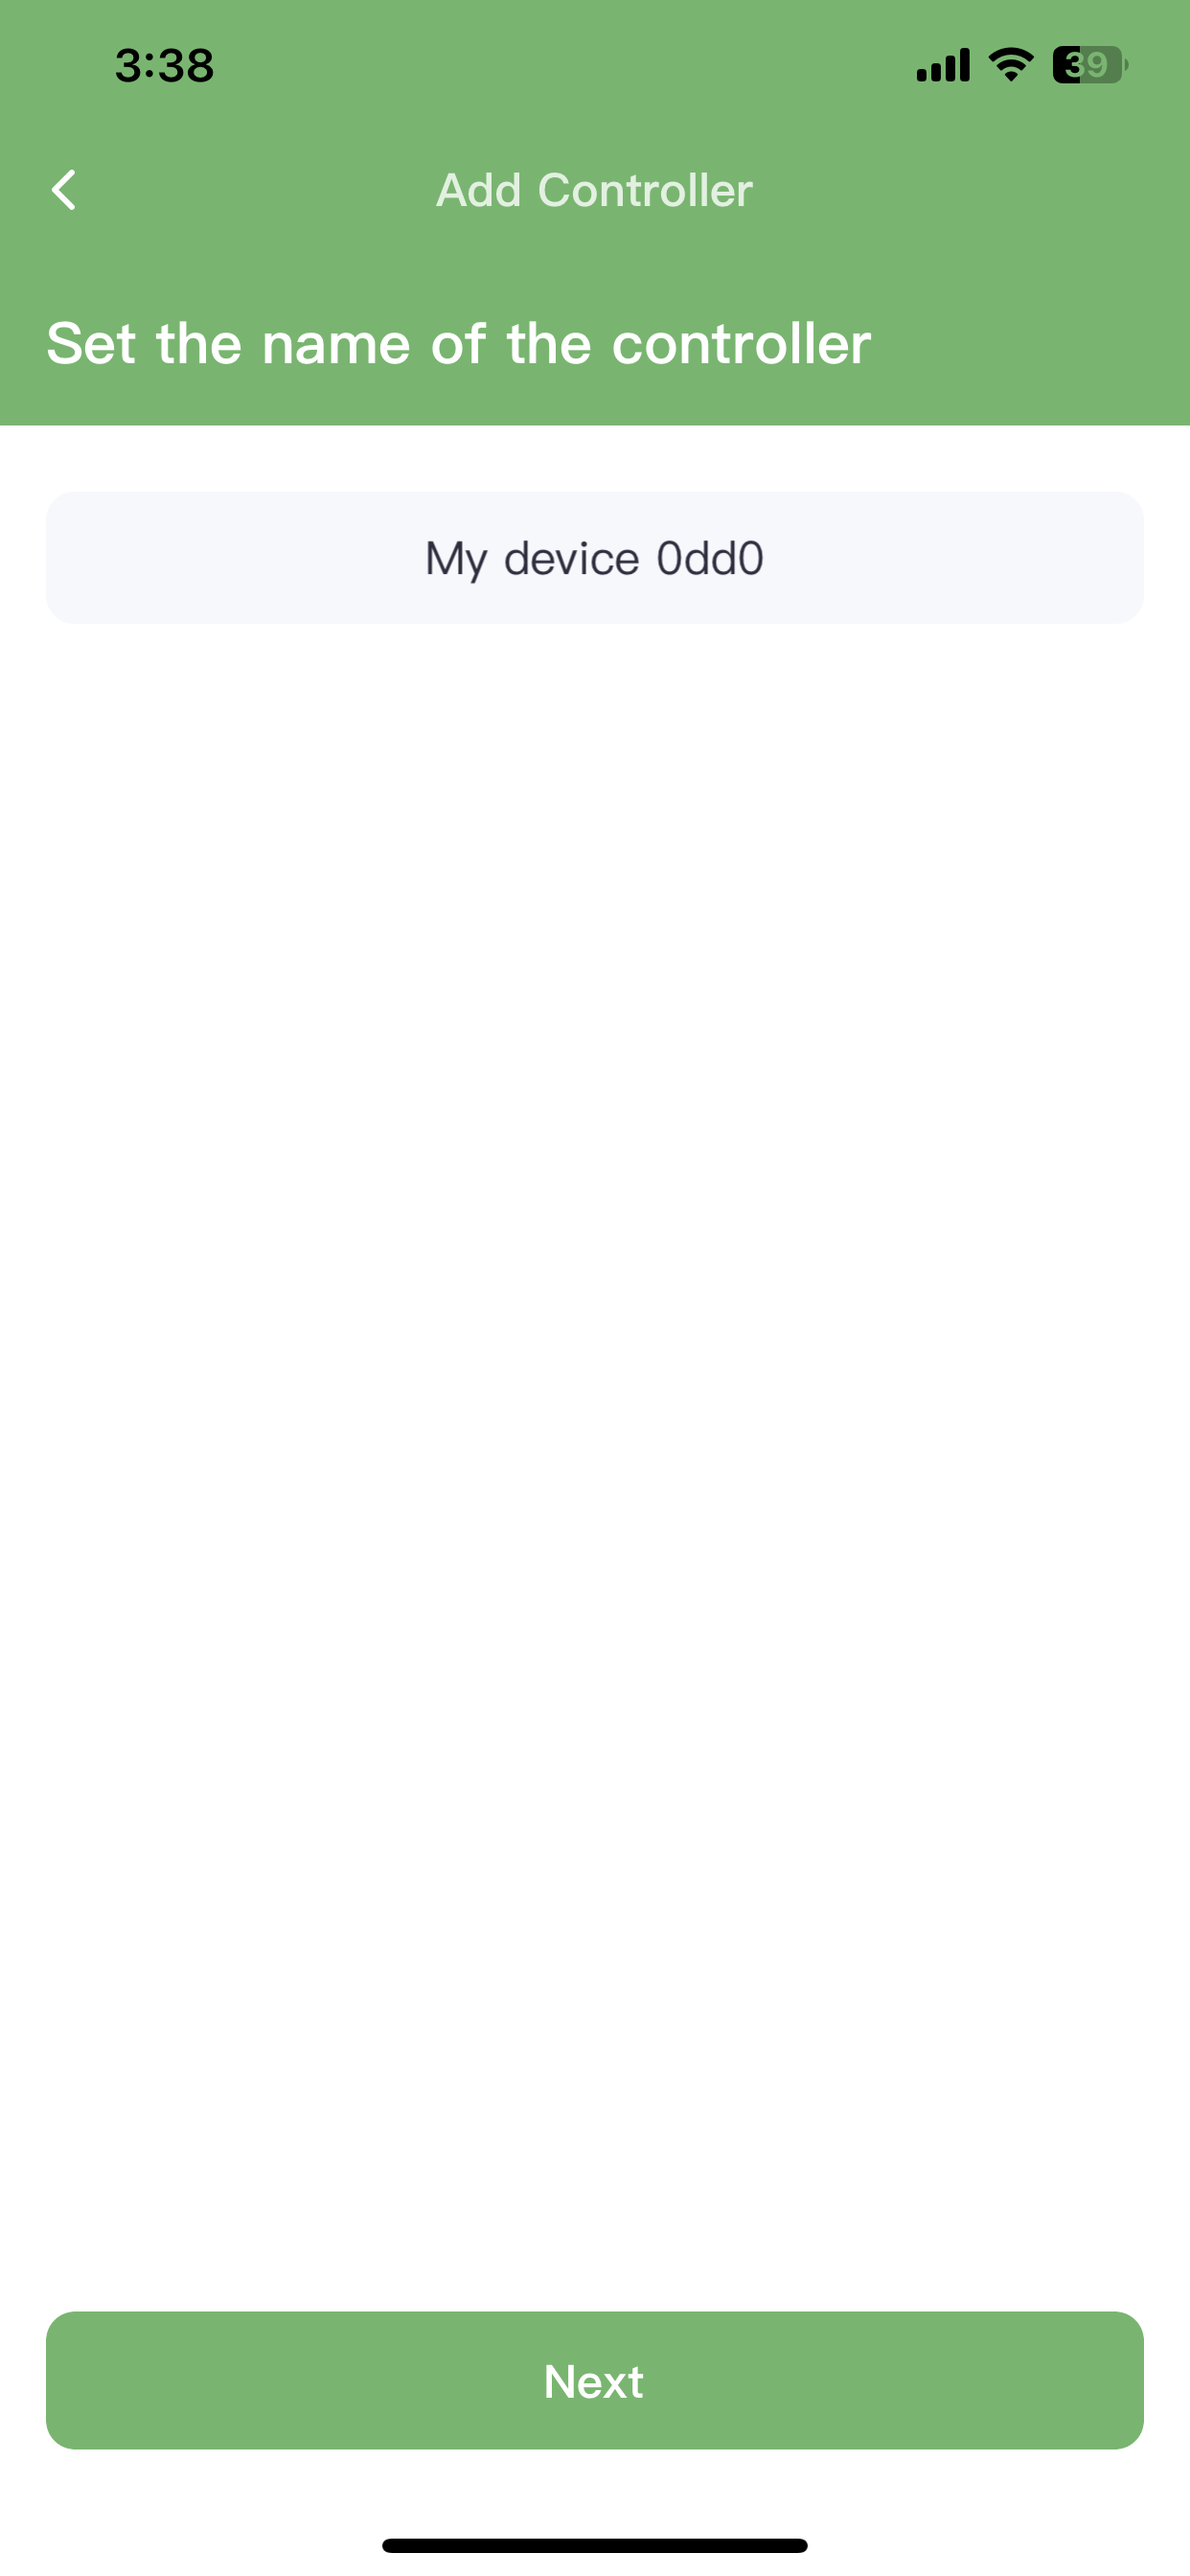
Start by giving your controller an easily recognizable name,
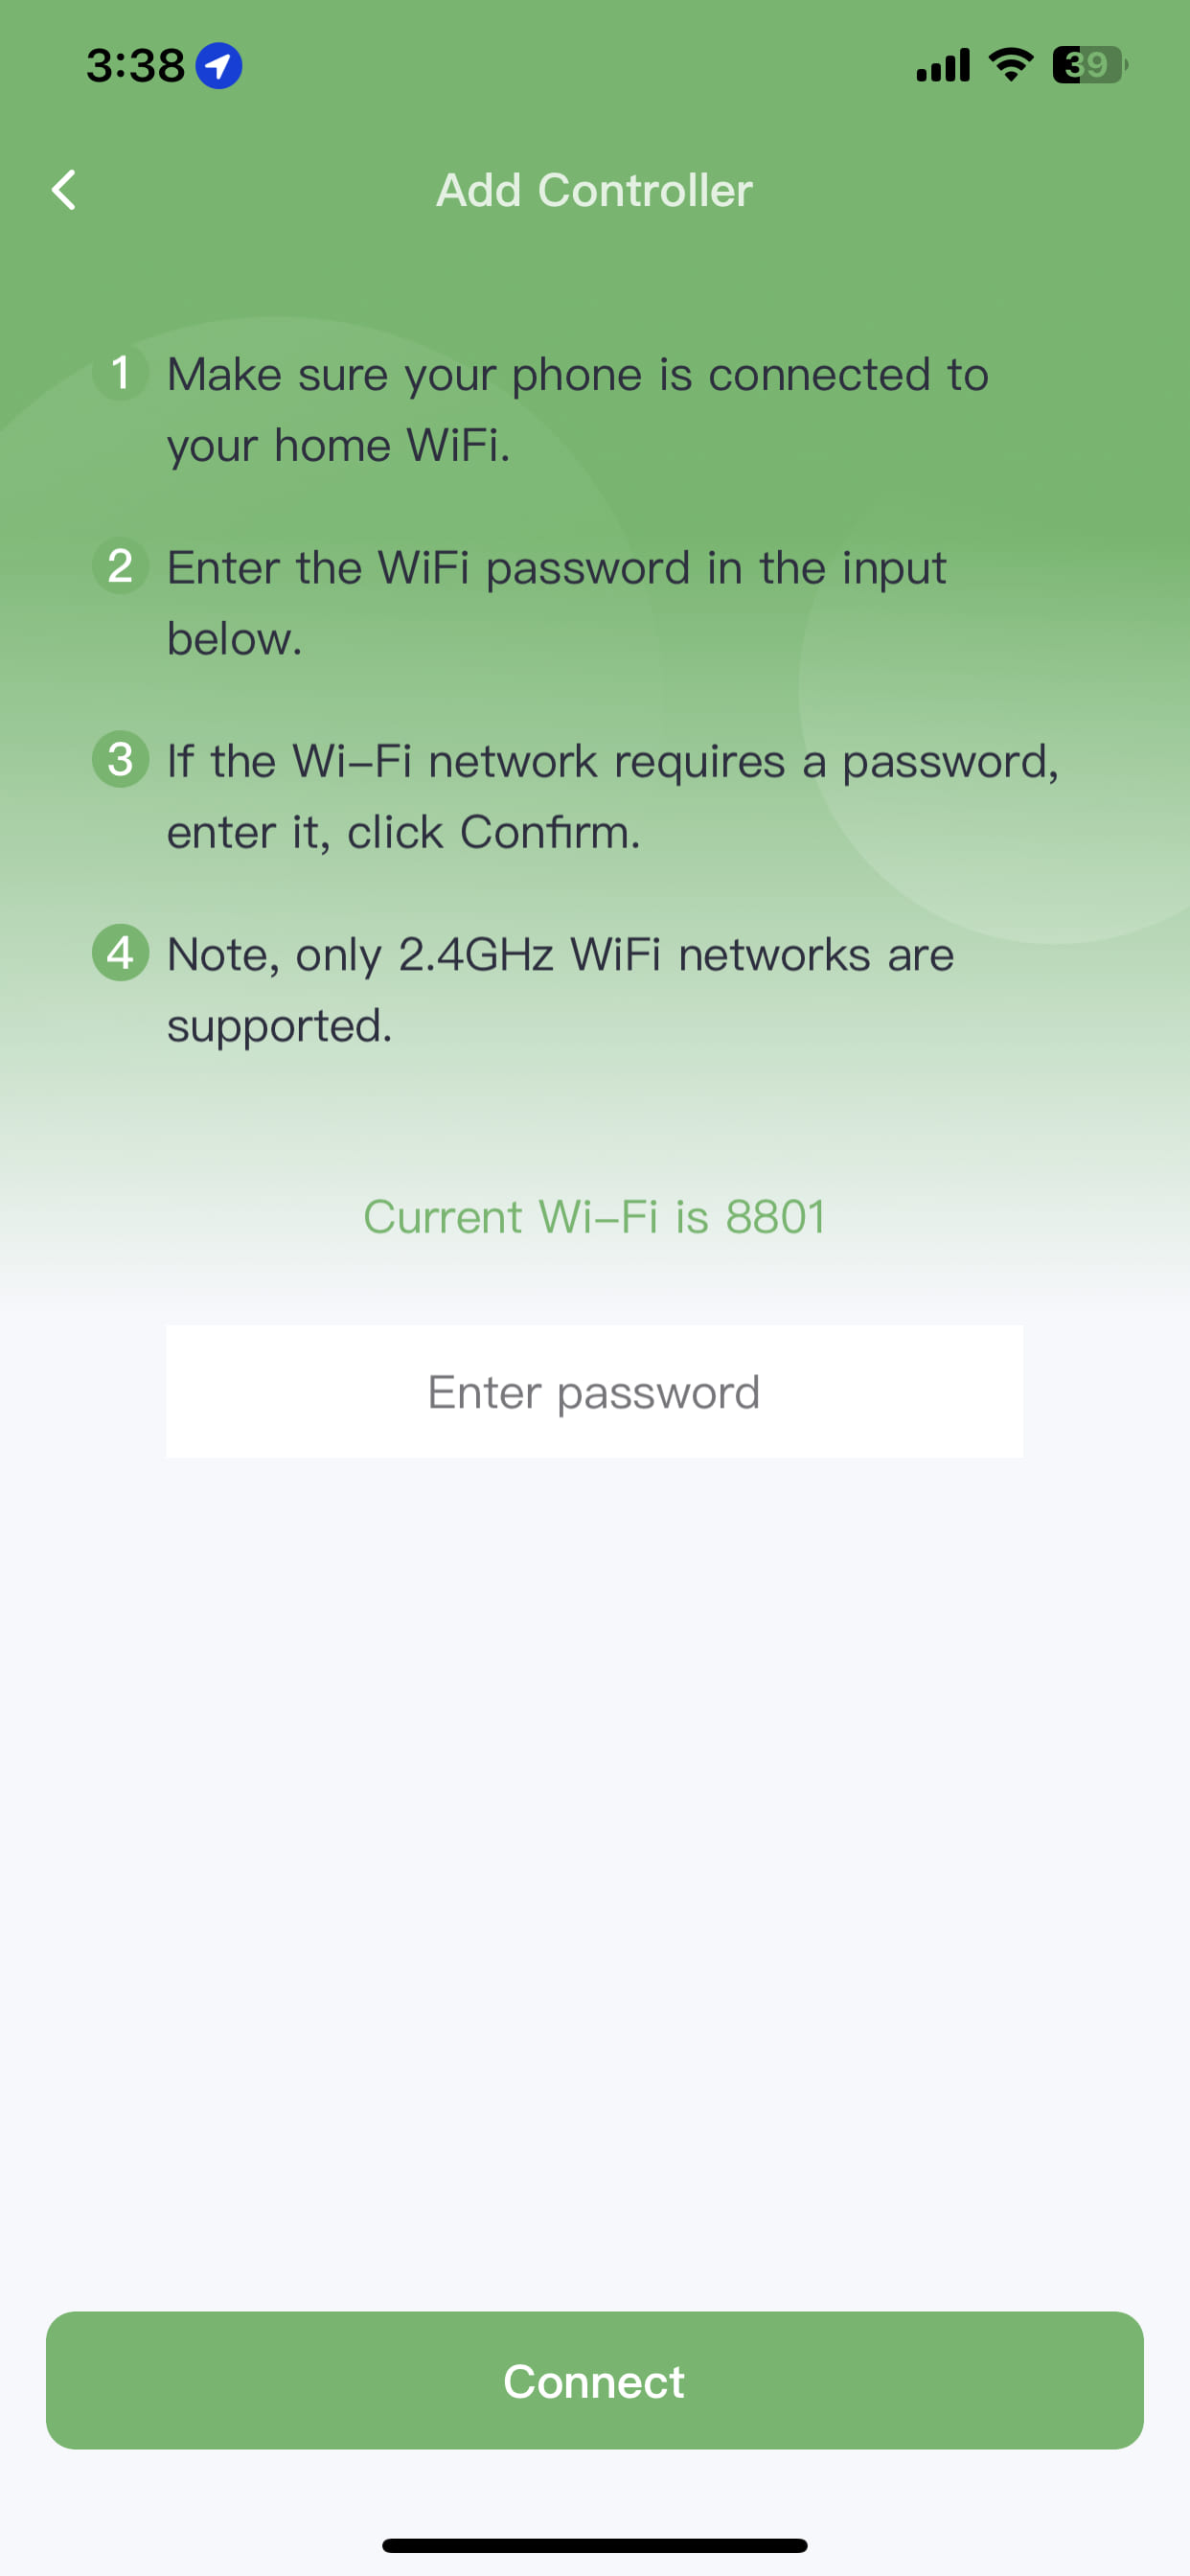
then tap "Get Phone WiFi" to connect to your phone’s WiFi. Note that your phone must be connected to a 2.4GHz WiFi network. Enter the correct WiFi password, then transmit the information to the server. After that, return to the connection screen and tap "Next" to start the connection process.
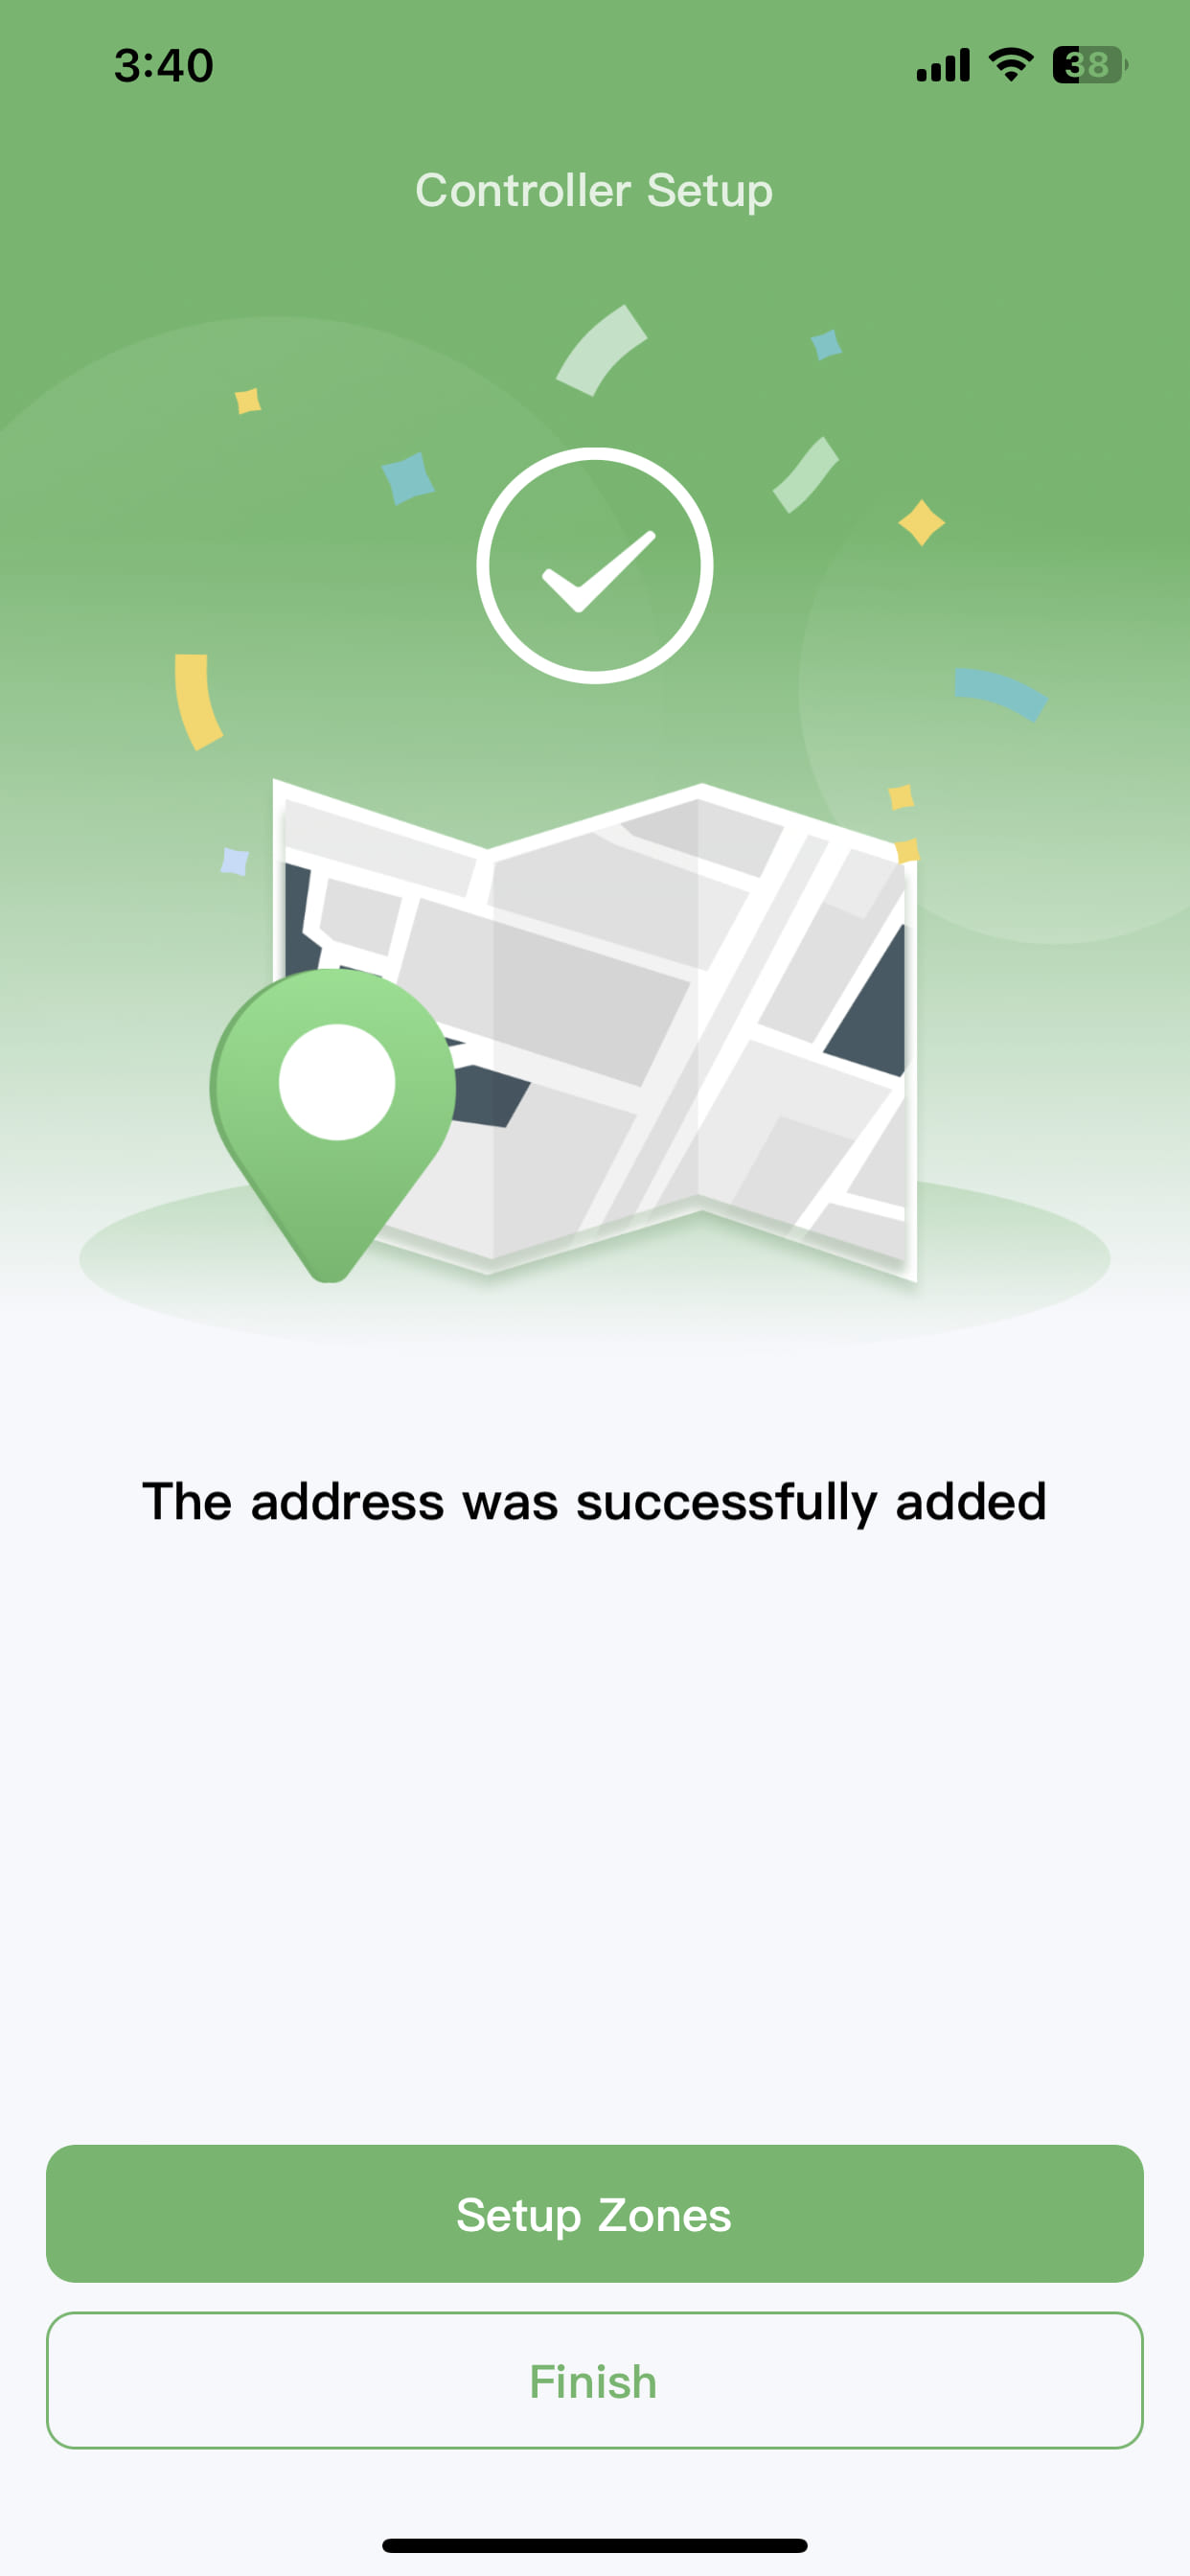
When you see this screen, congratulations, your device has been successfully added!
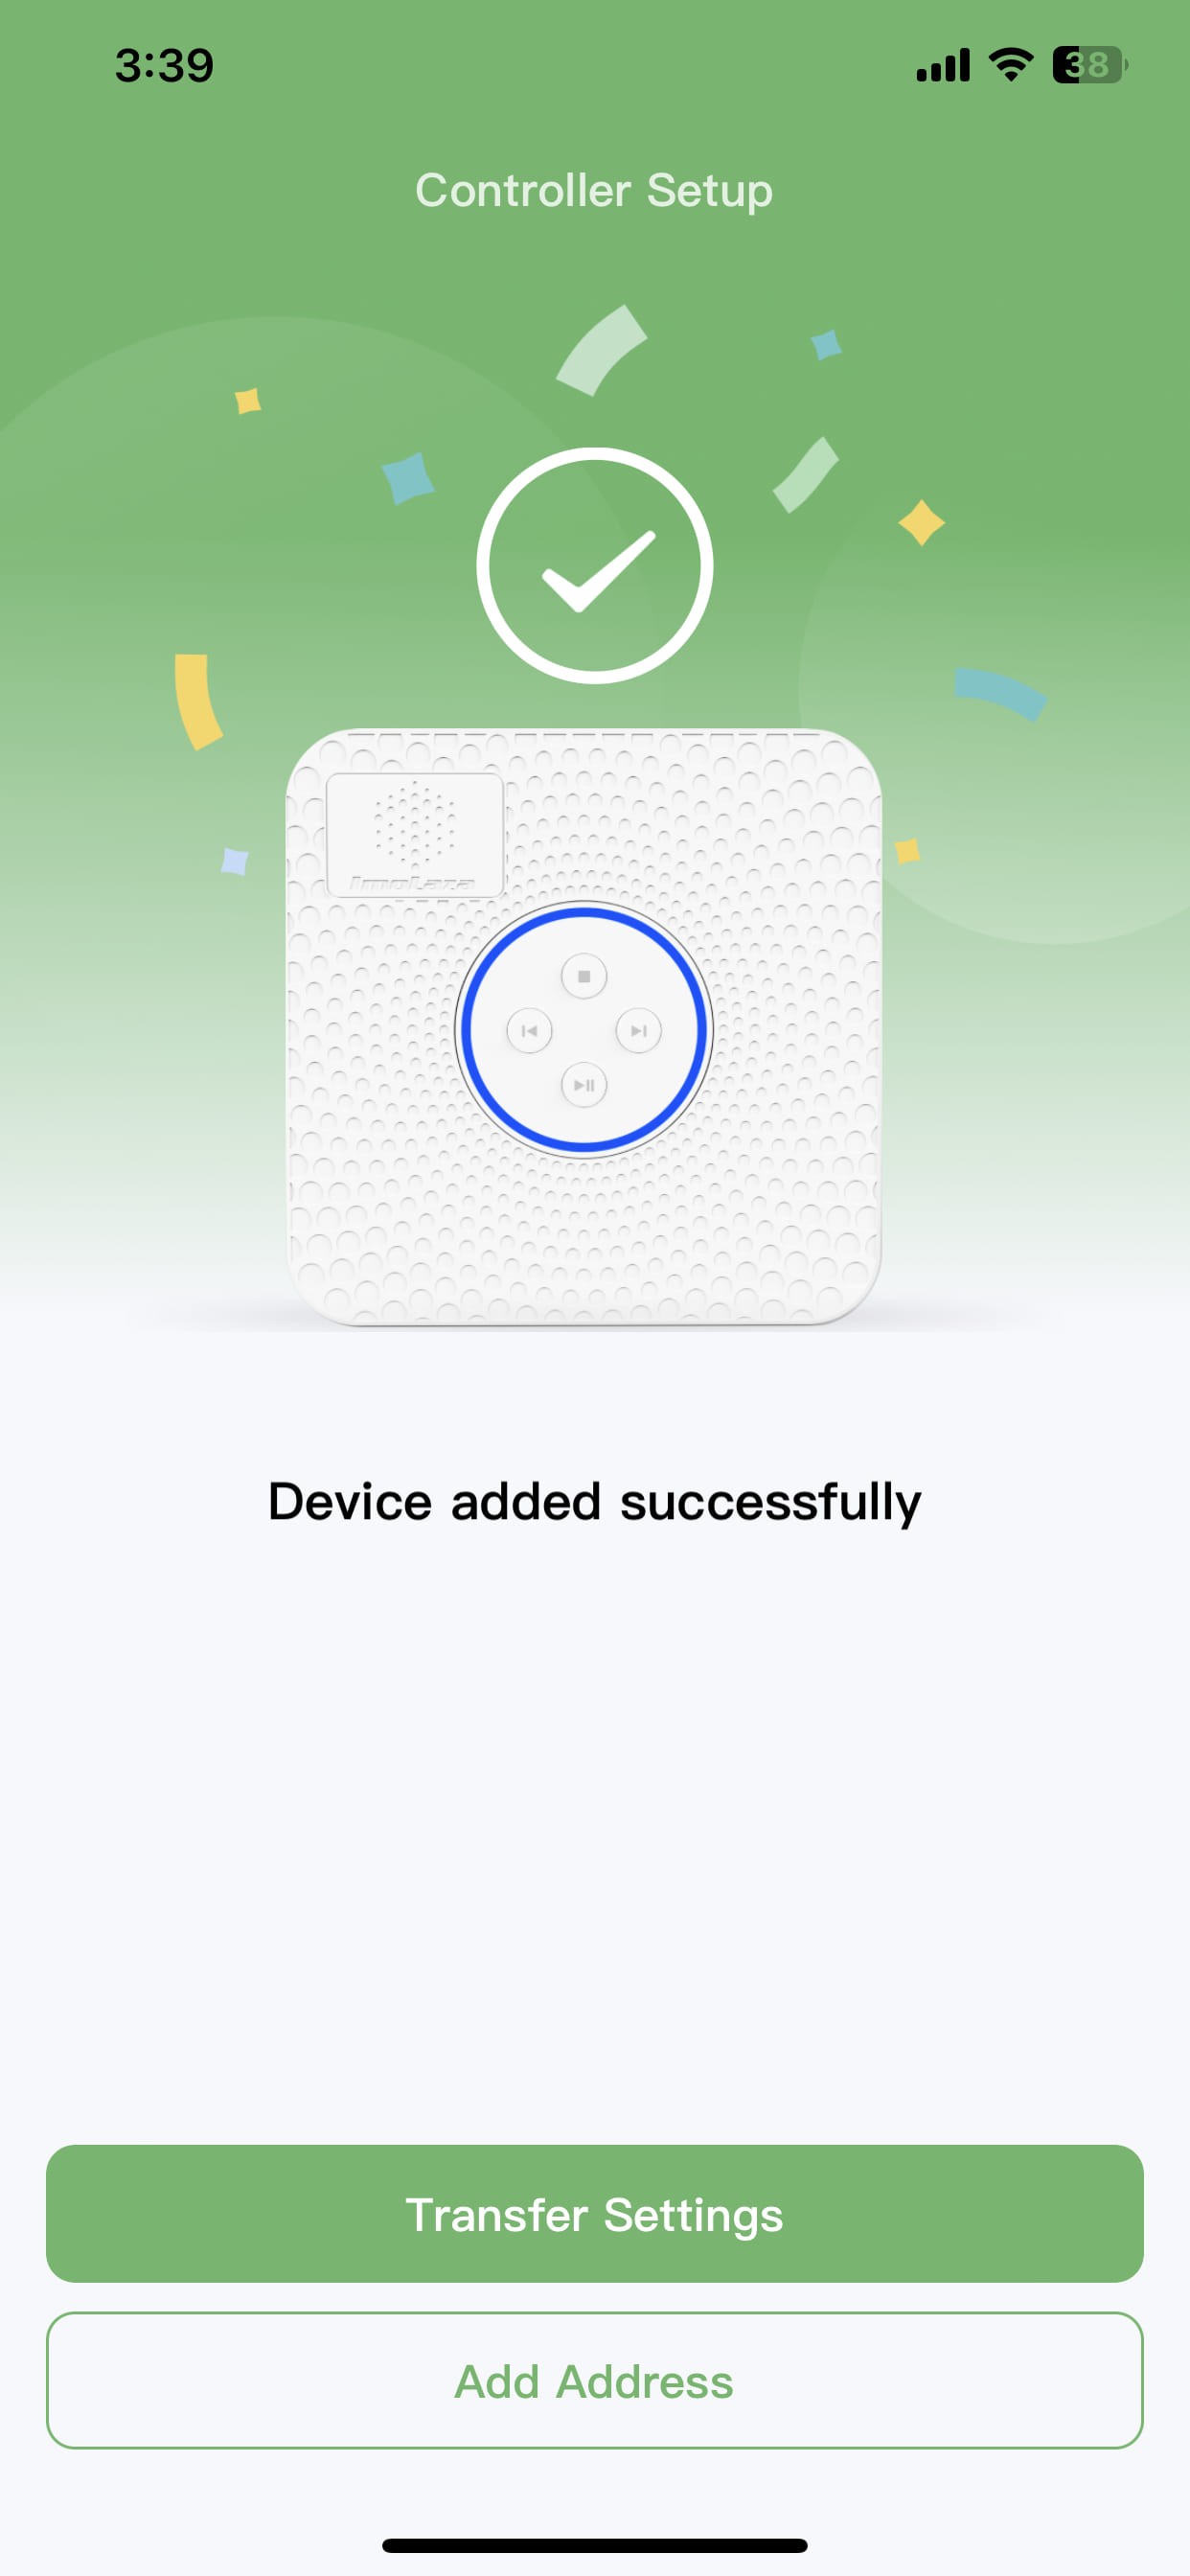
Next, you need to provide the address information for your controller. Simply enter your street address in the input box, and the system will automatically detect your location.
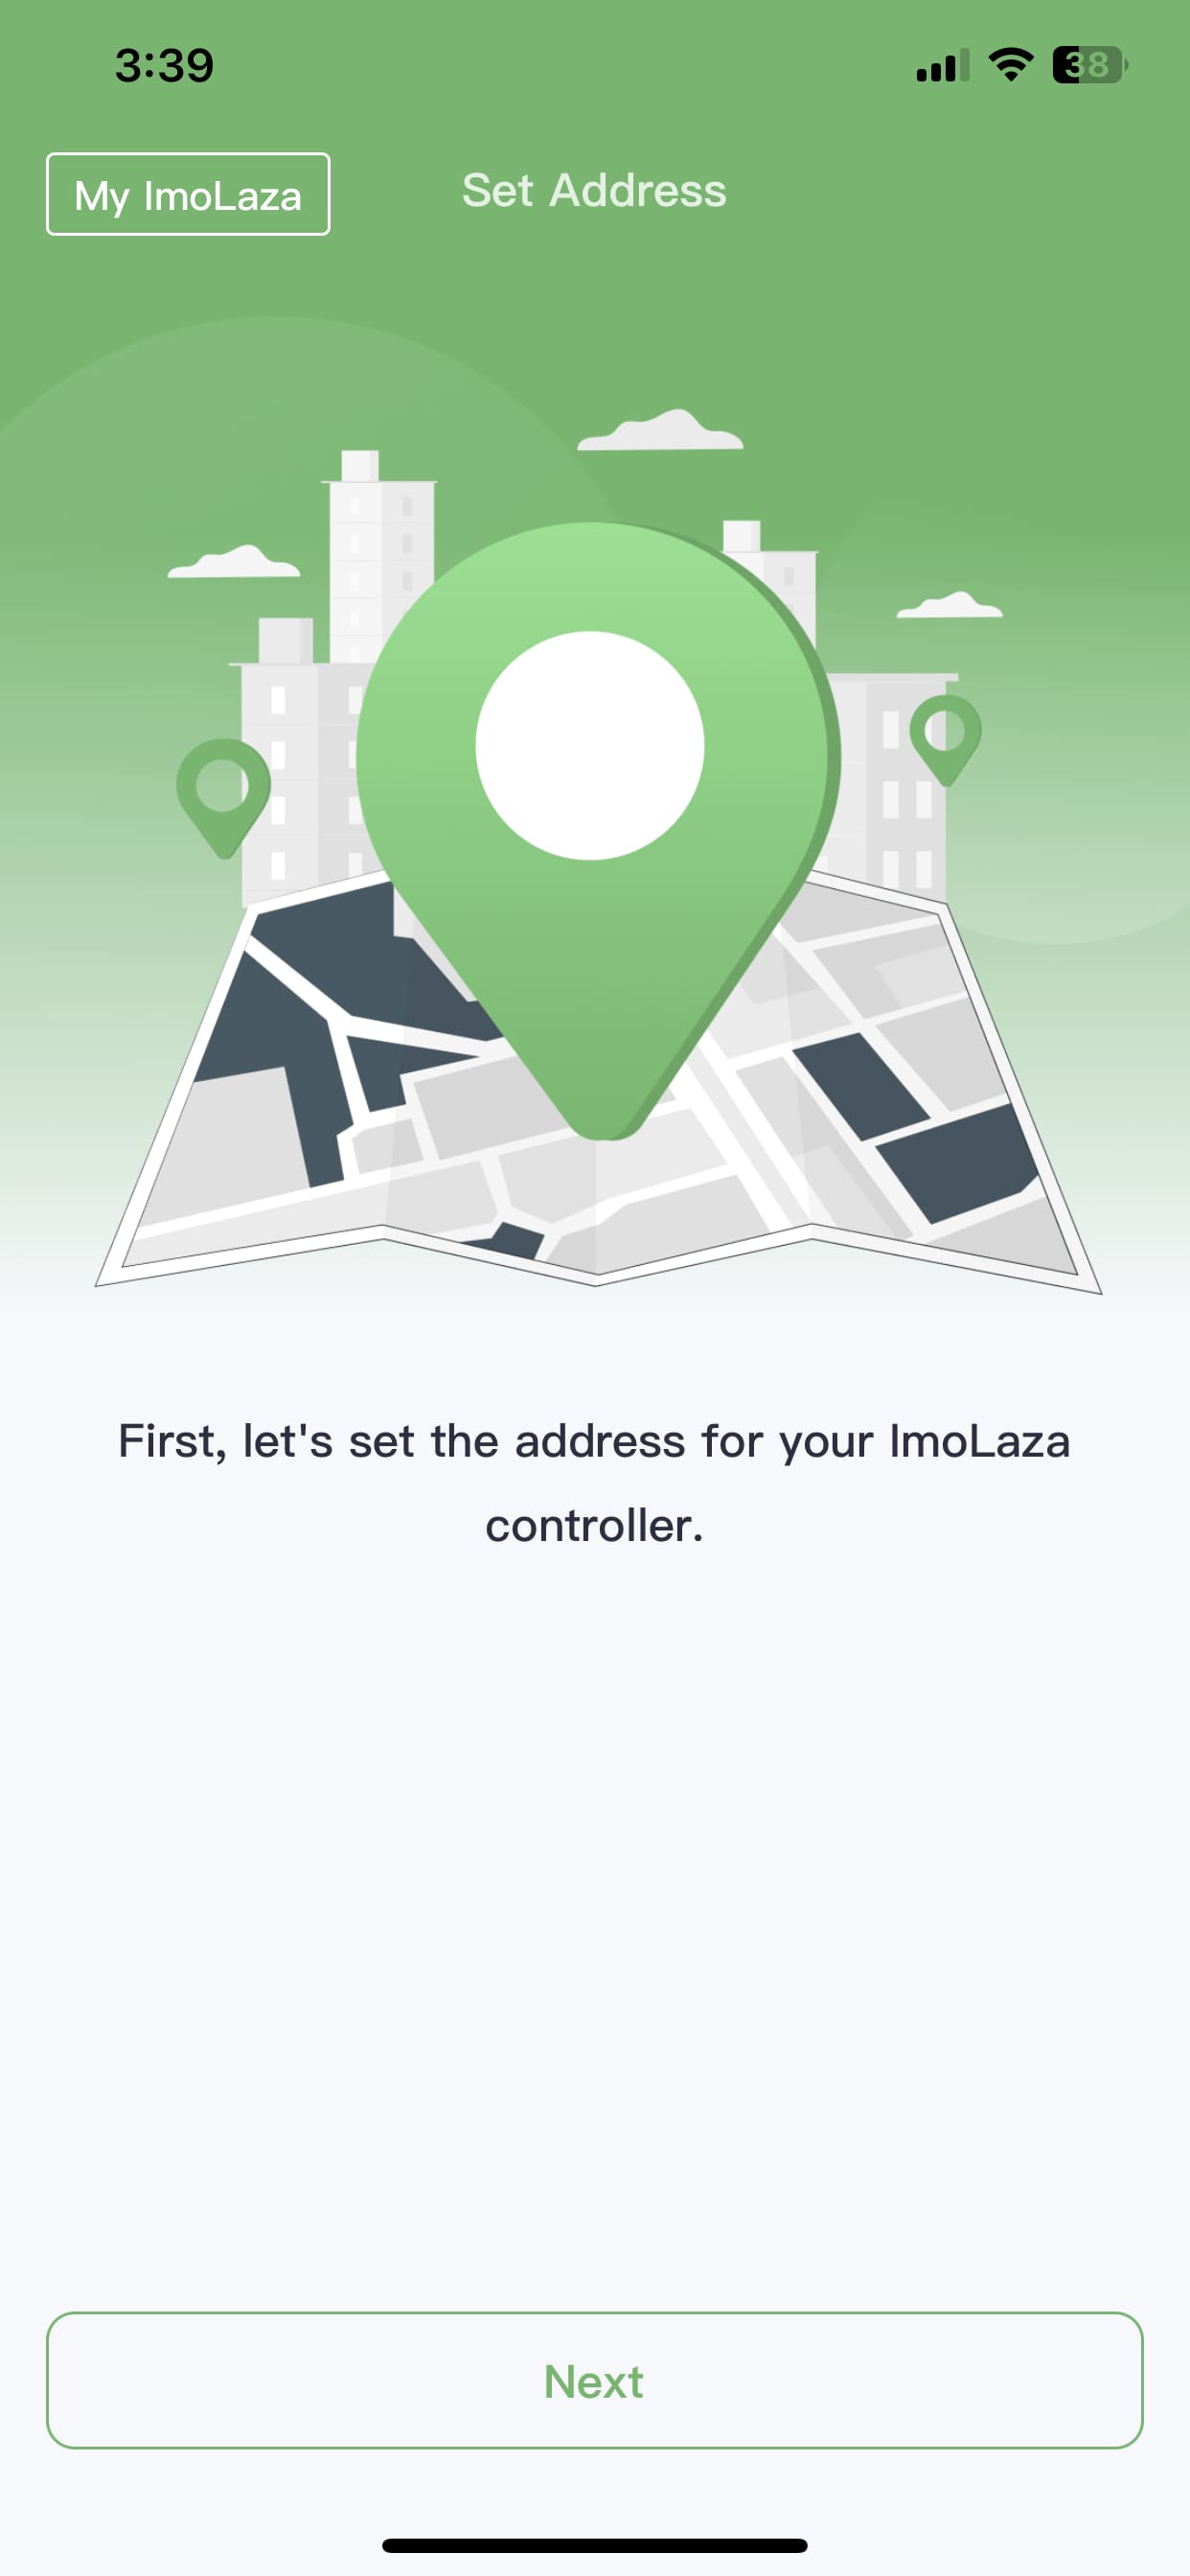
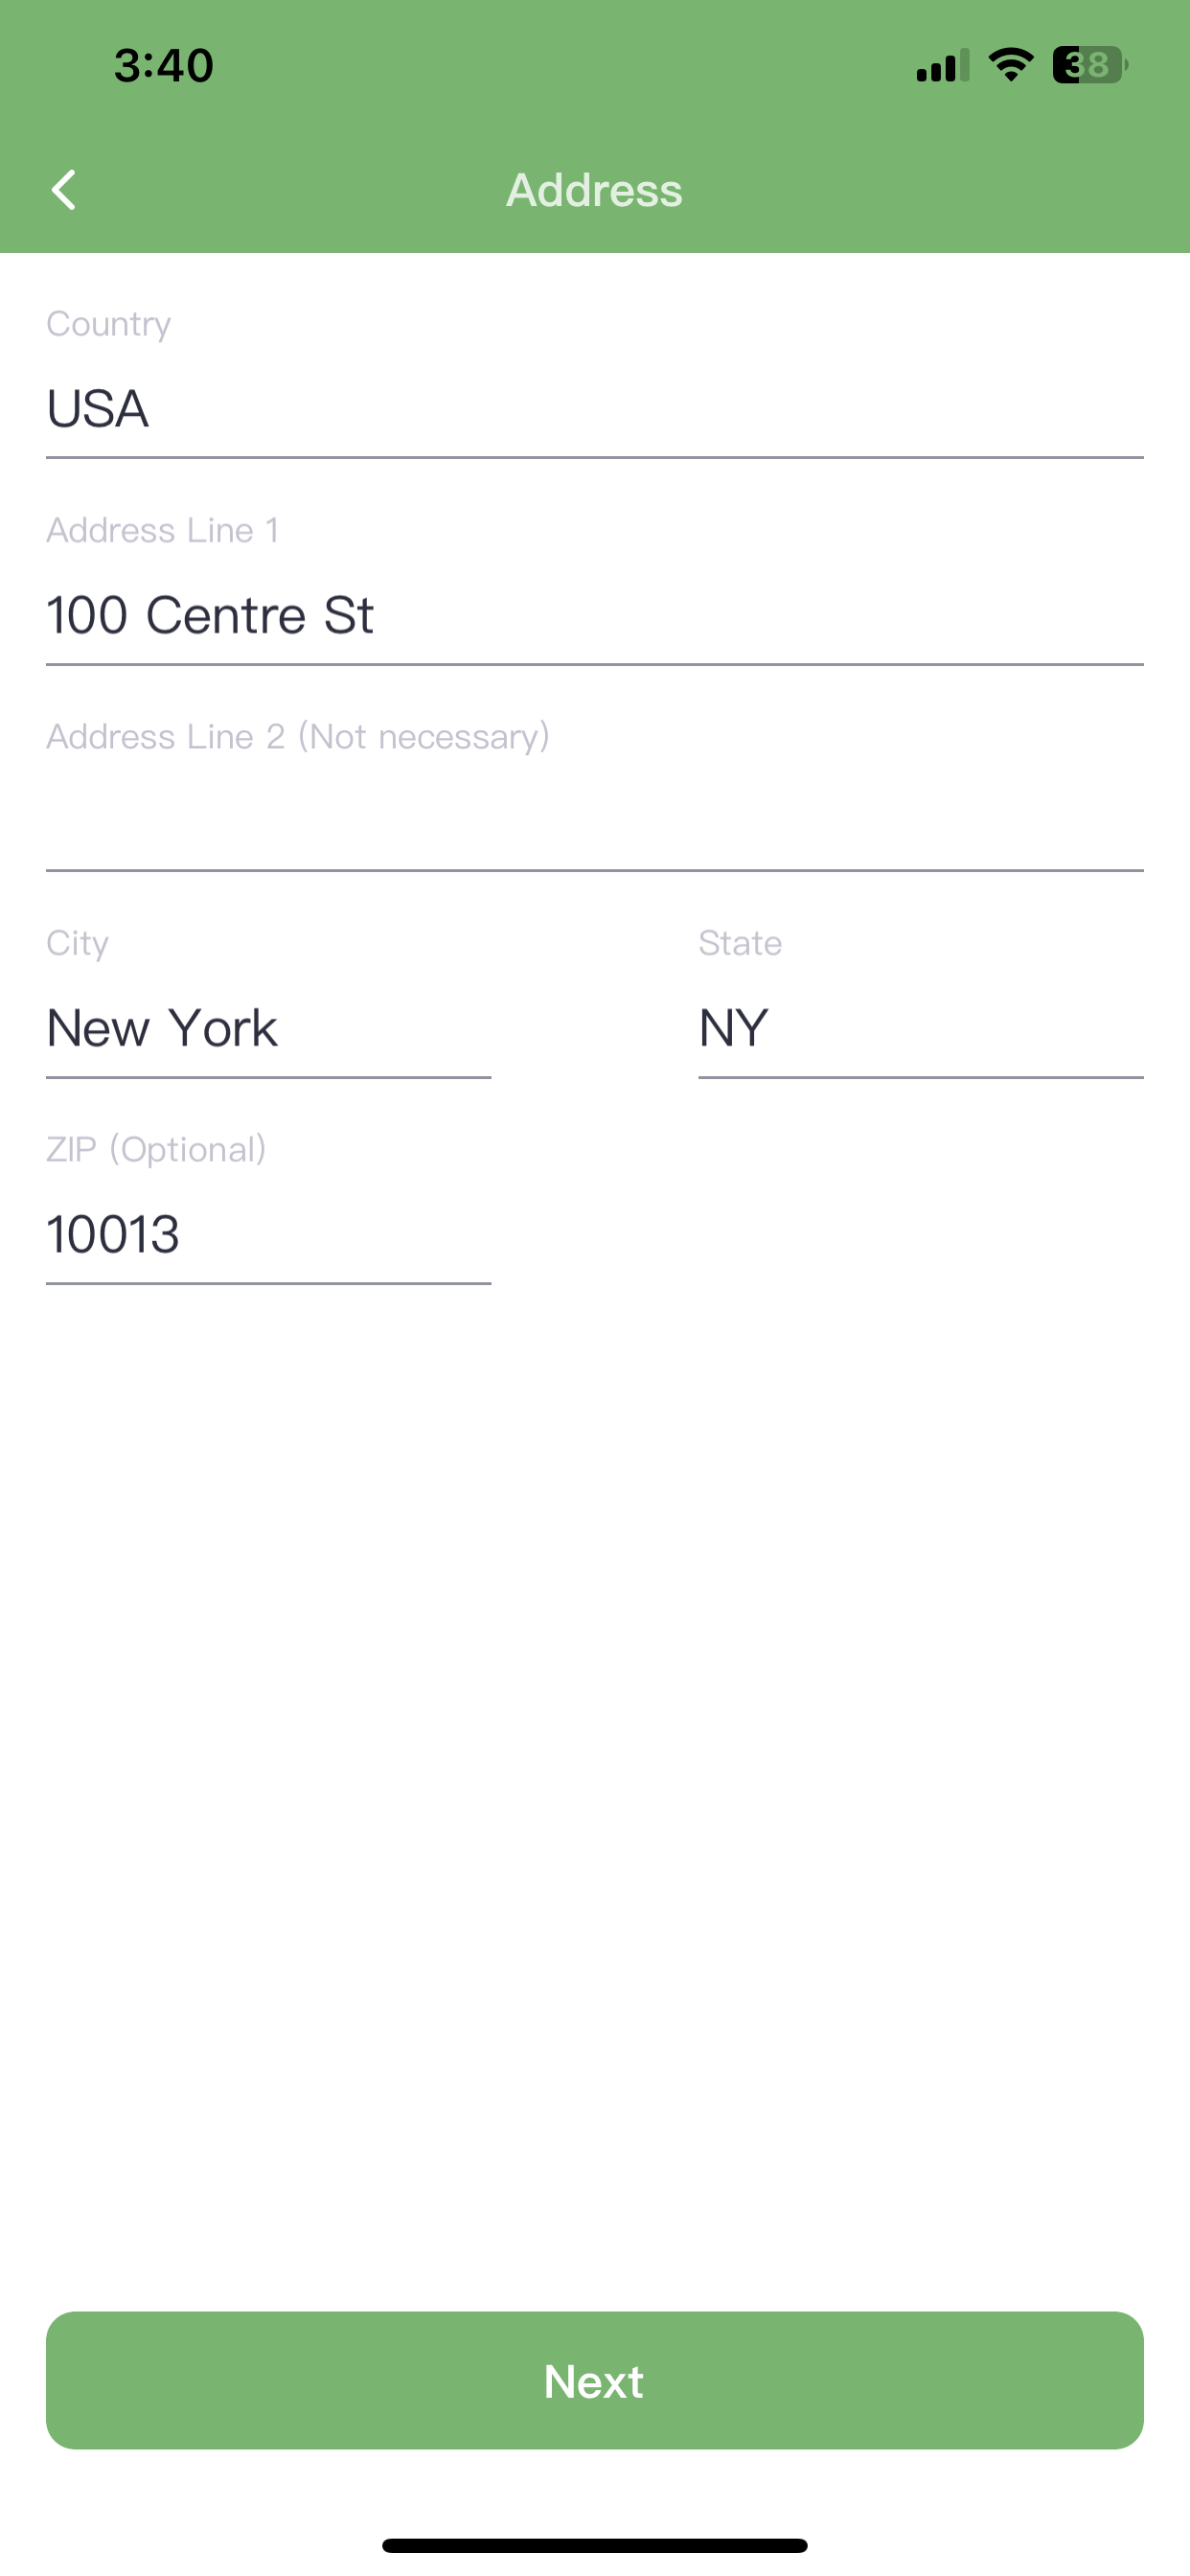
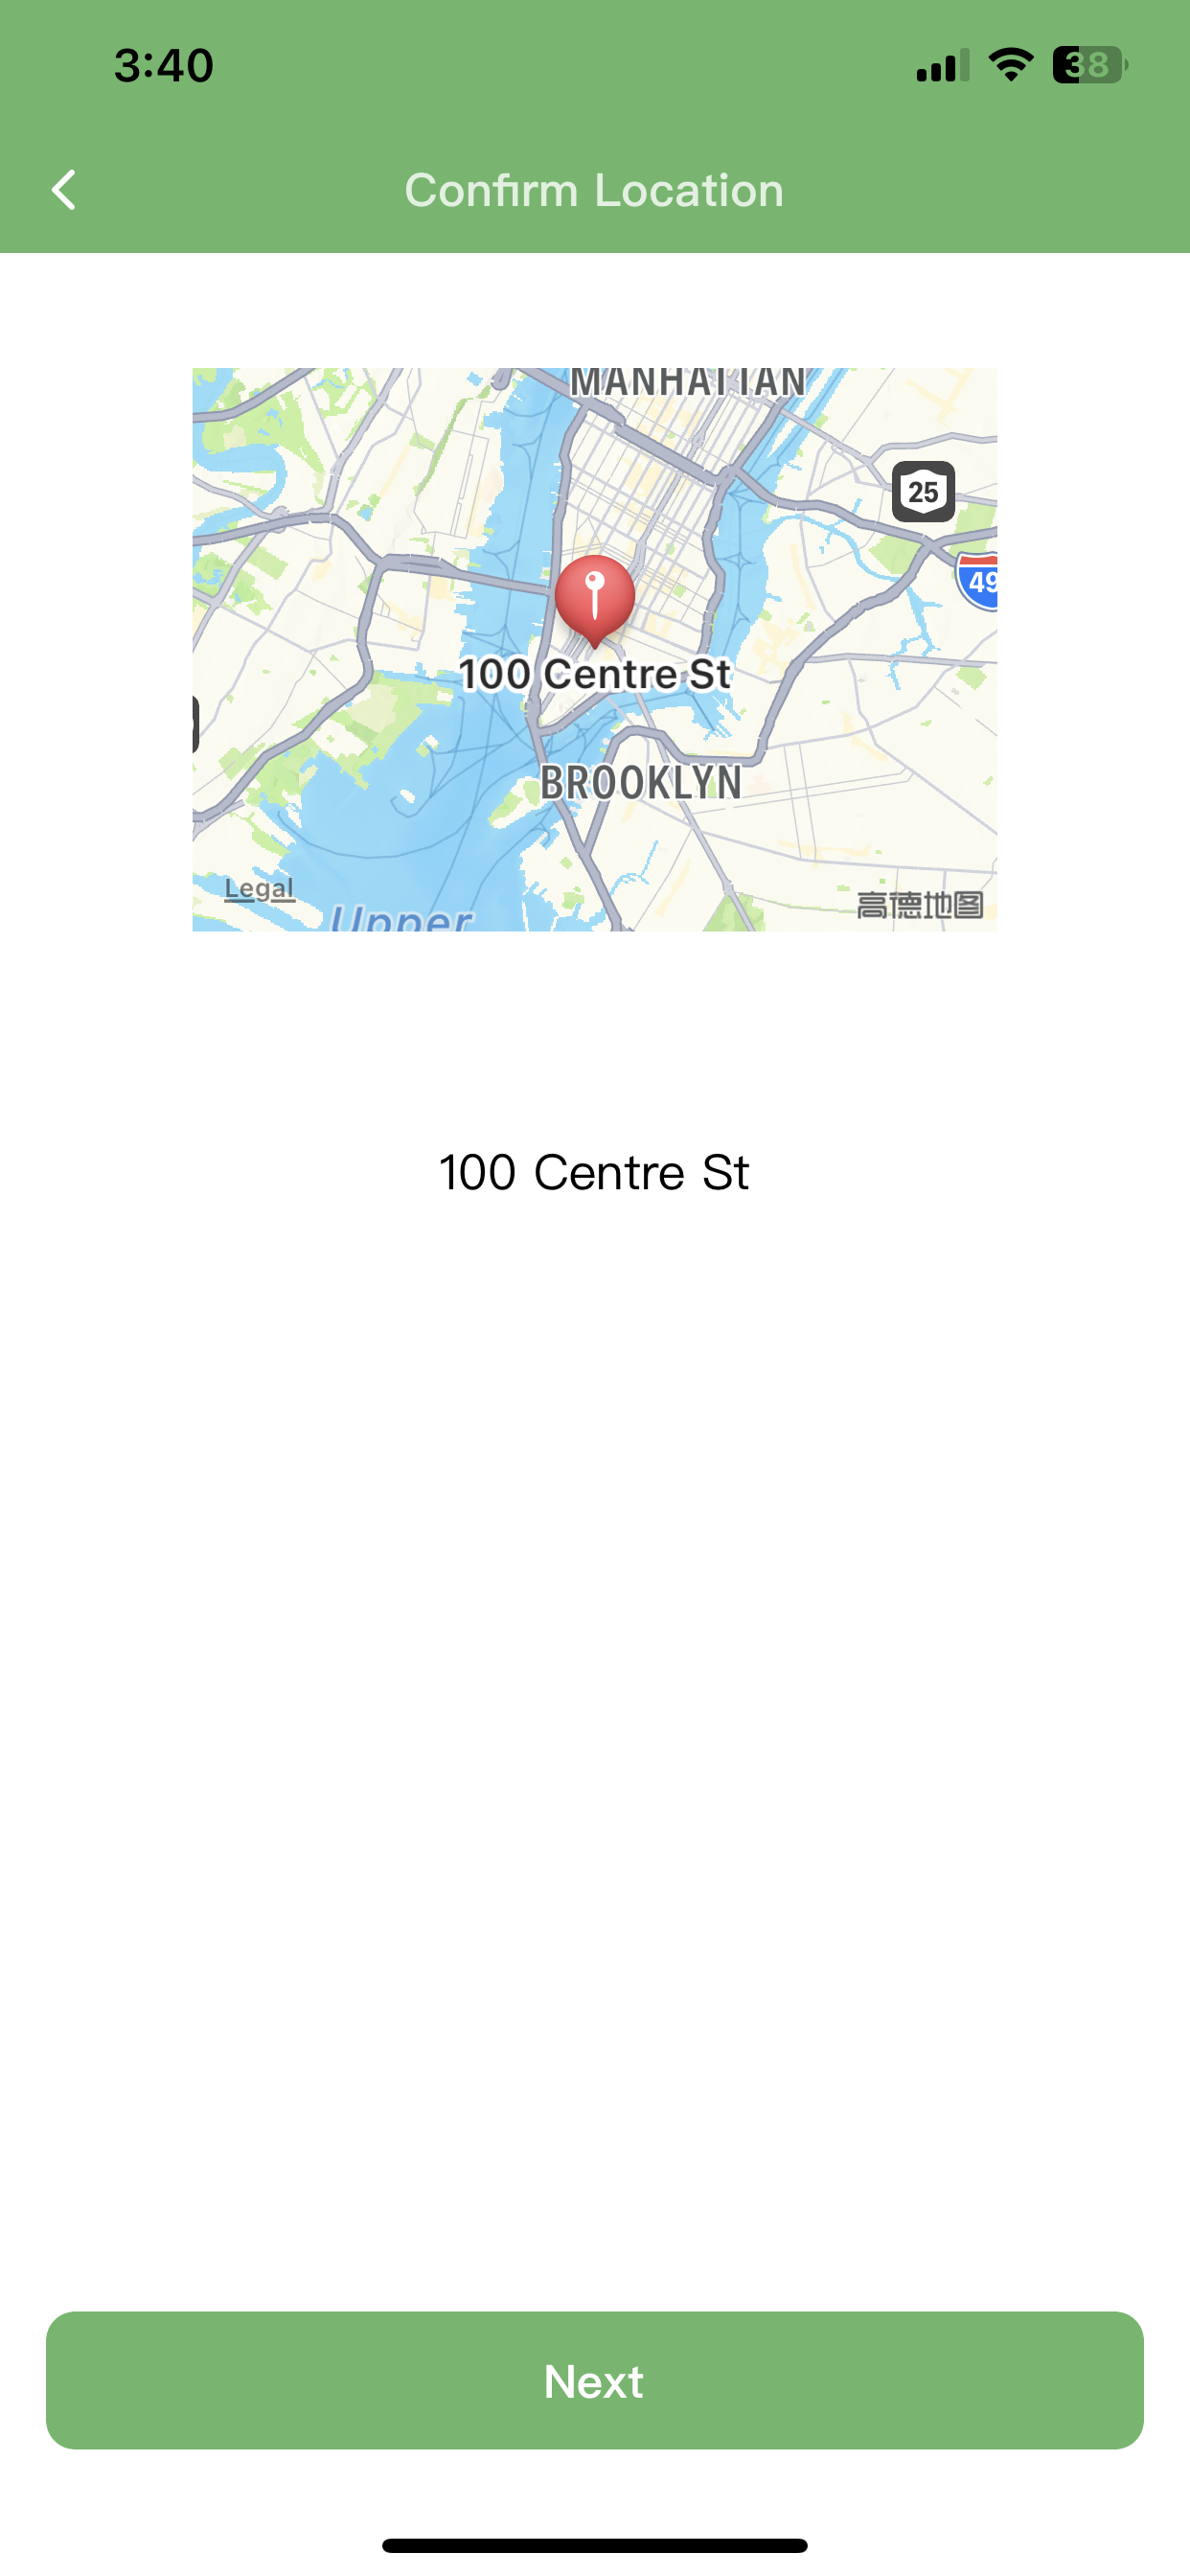
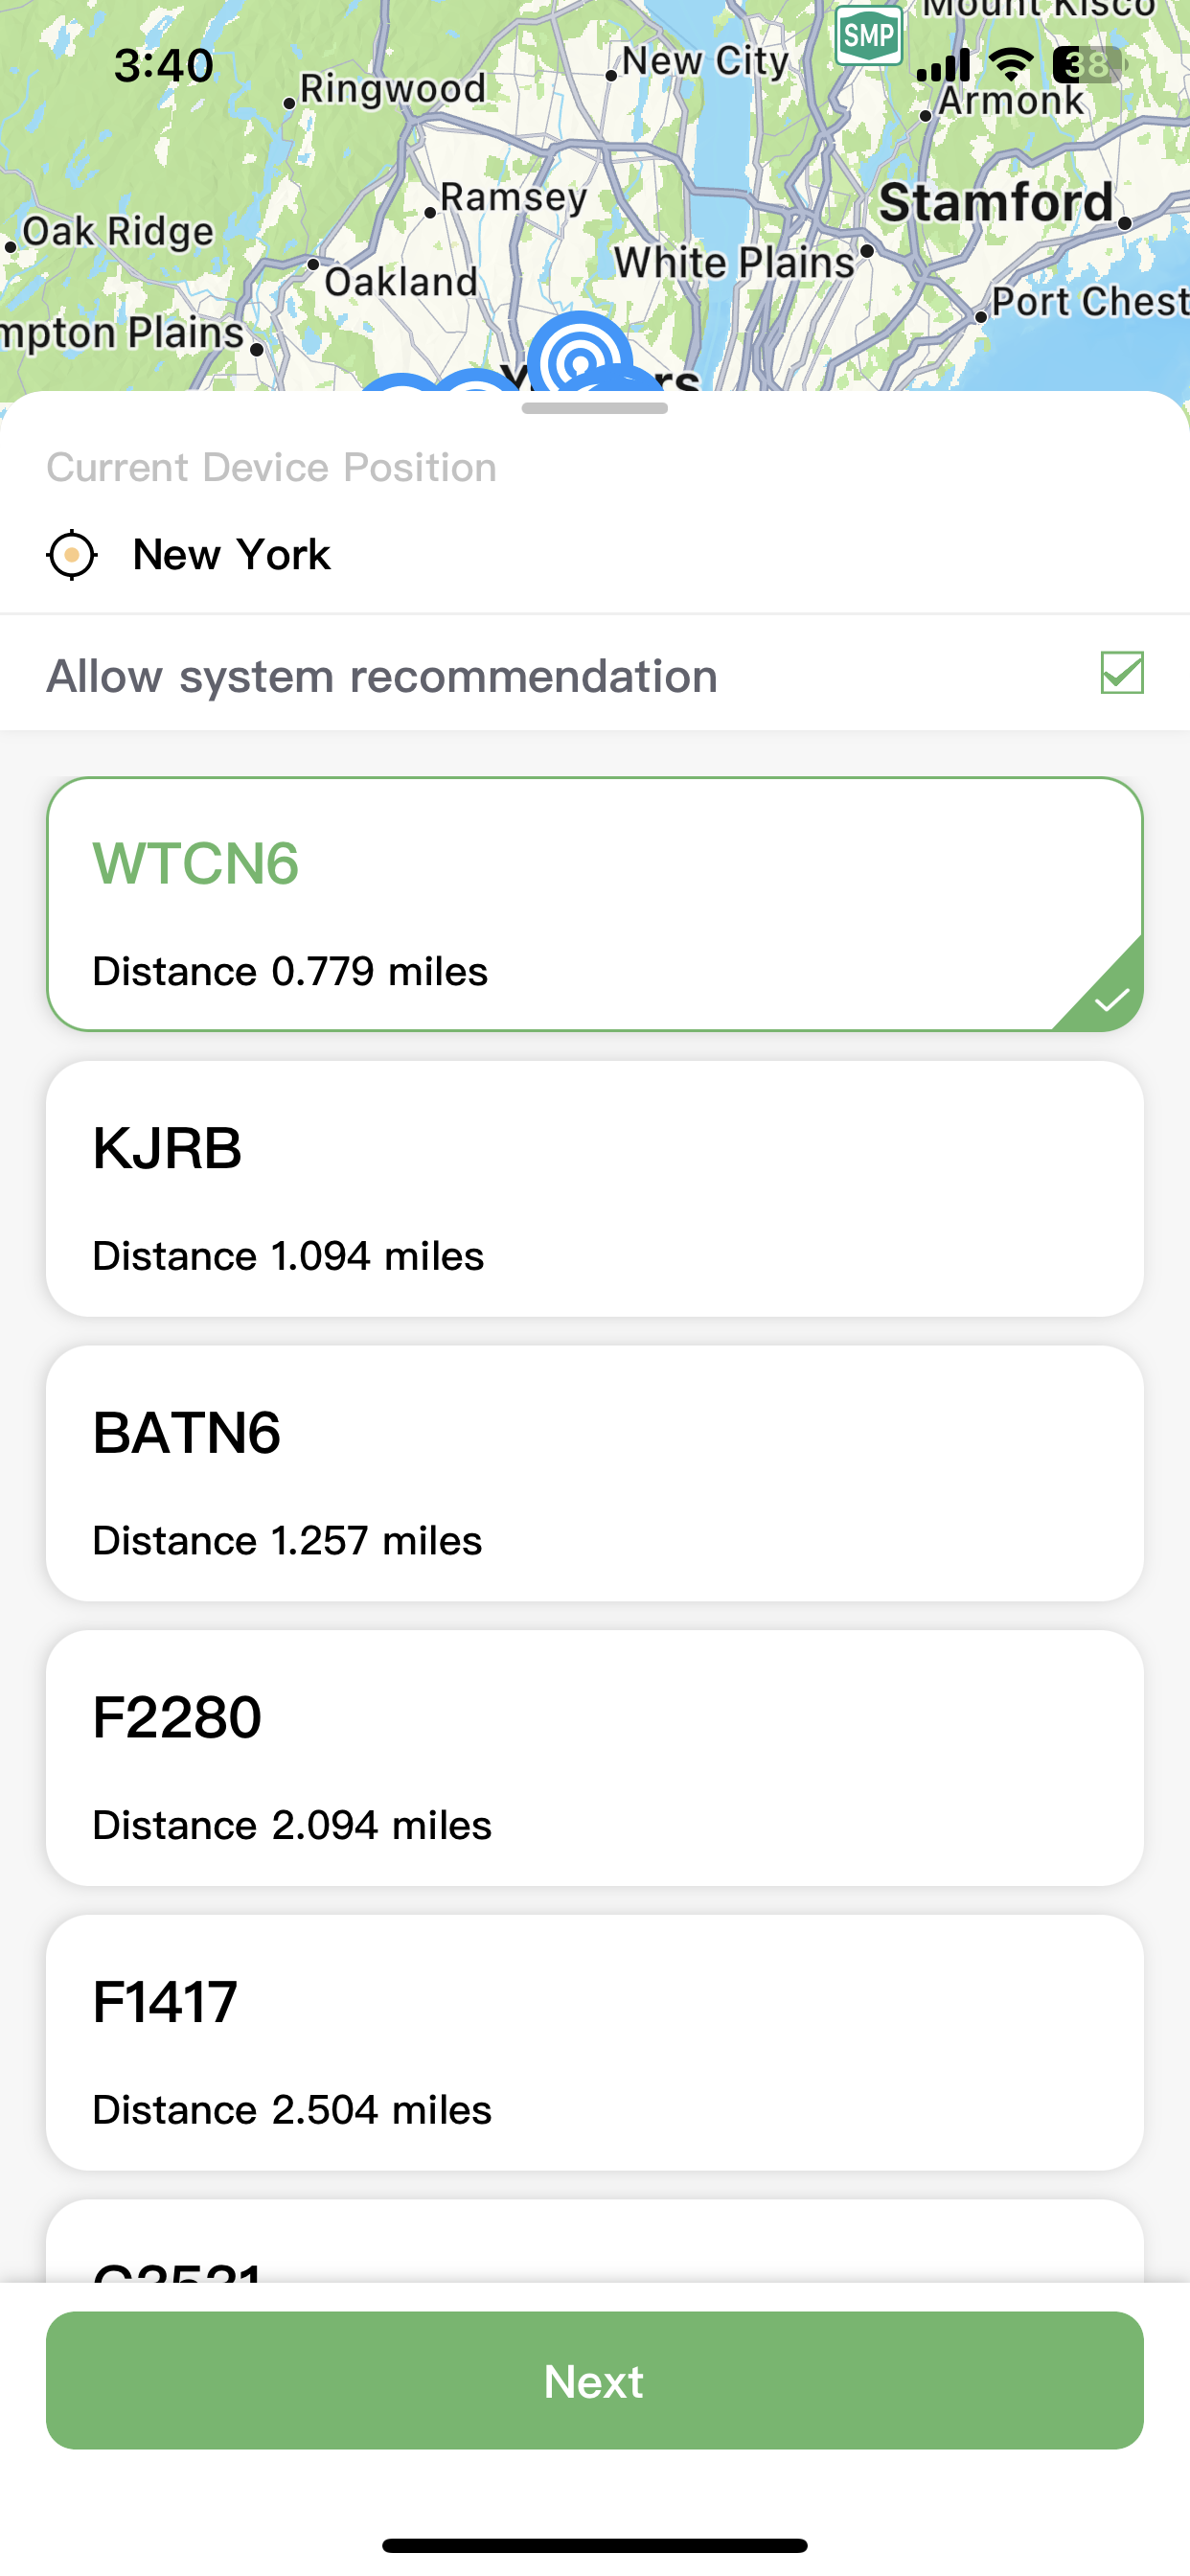
Then, select a nearby weather station to guide your controller’s operation. Remember, the more accurate your address, the closer the selected weather station will be to your location. We recommend checking "Allow system recommendation" so the system can automatically switch to other available weather stations if needed.
Fantastic! You’ve completed all the steps to add your device.
For Android users:
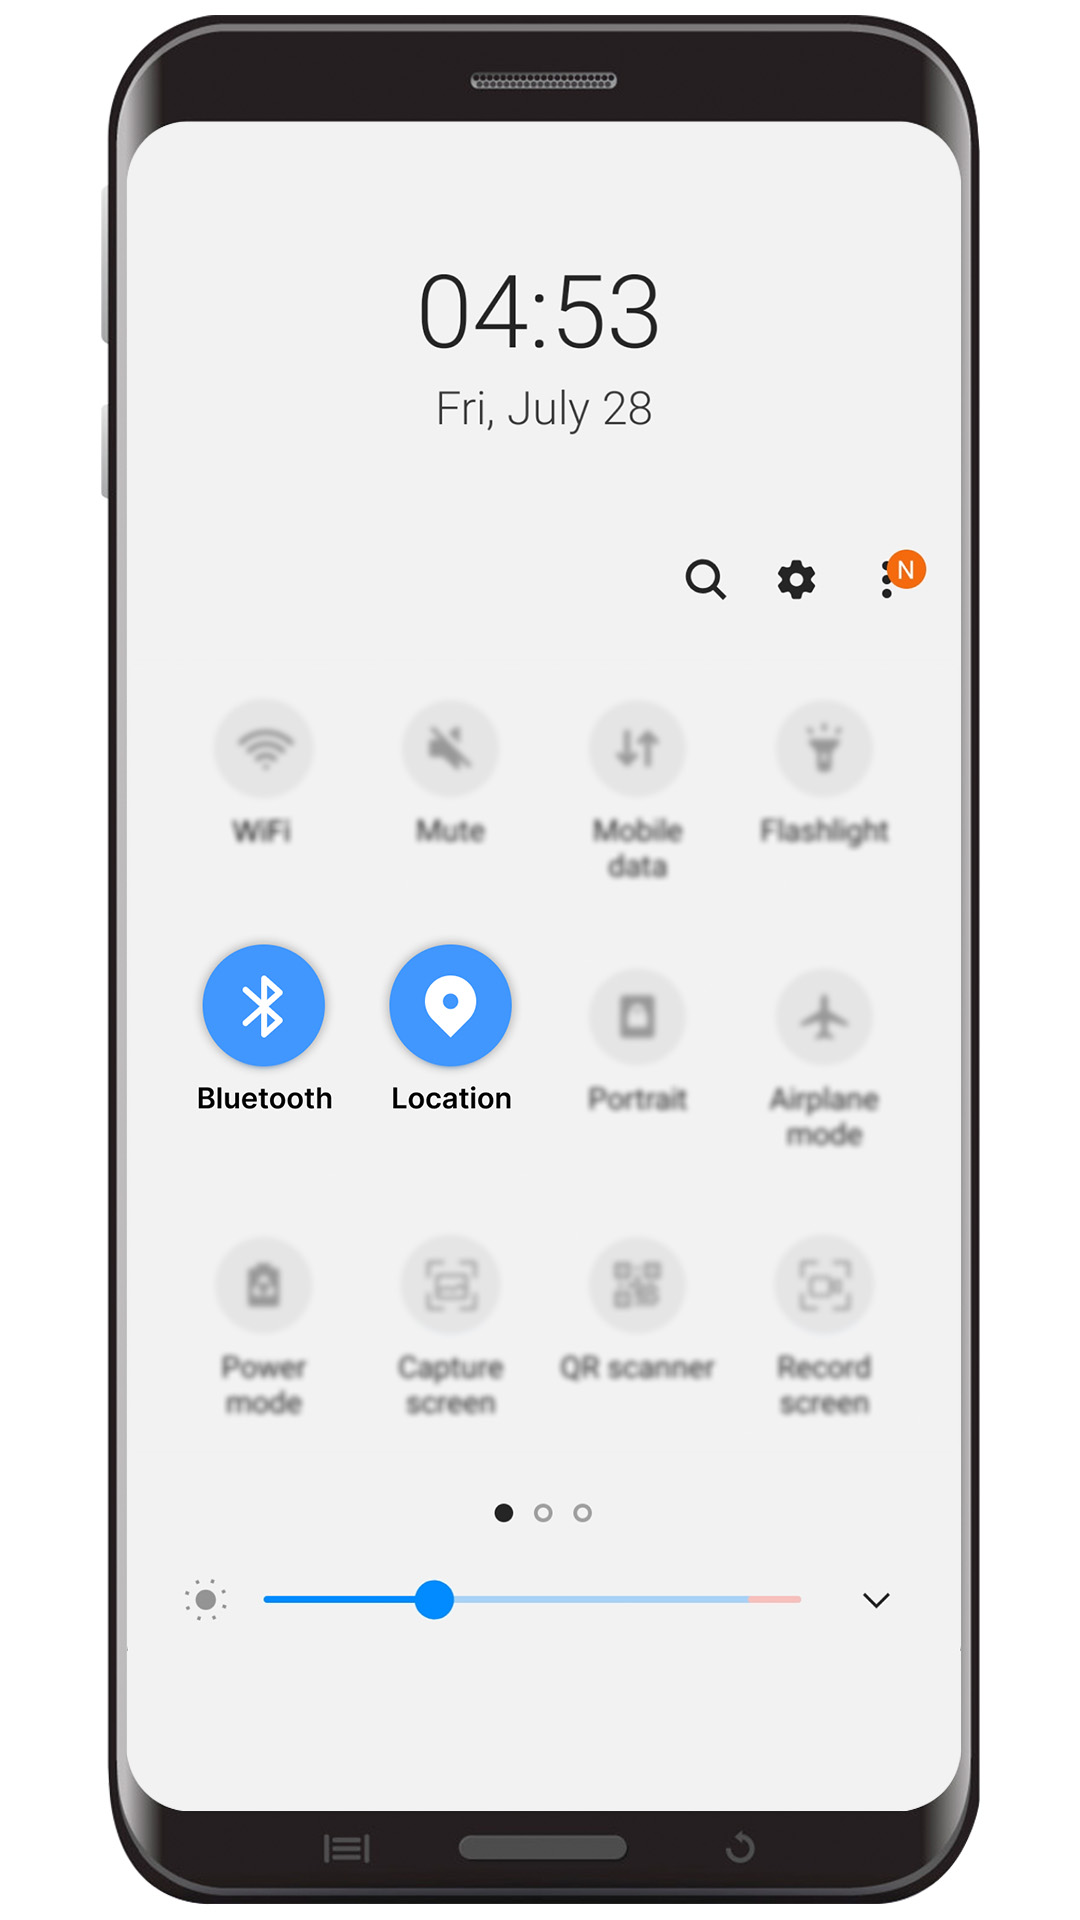
First, make sure your device is ready. To ensure a smooth setup process, make sure your phone has location and Bluetooth permissions enabled. Swipe down from the top of the screen to open the control center, then tap the Bluetooth and location icons to ensure they are both enabled.
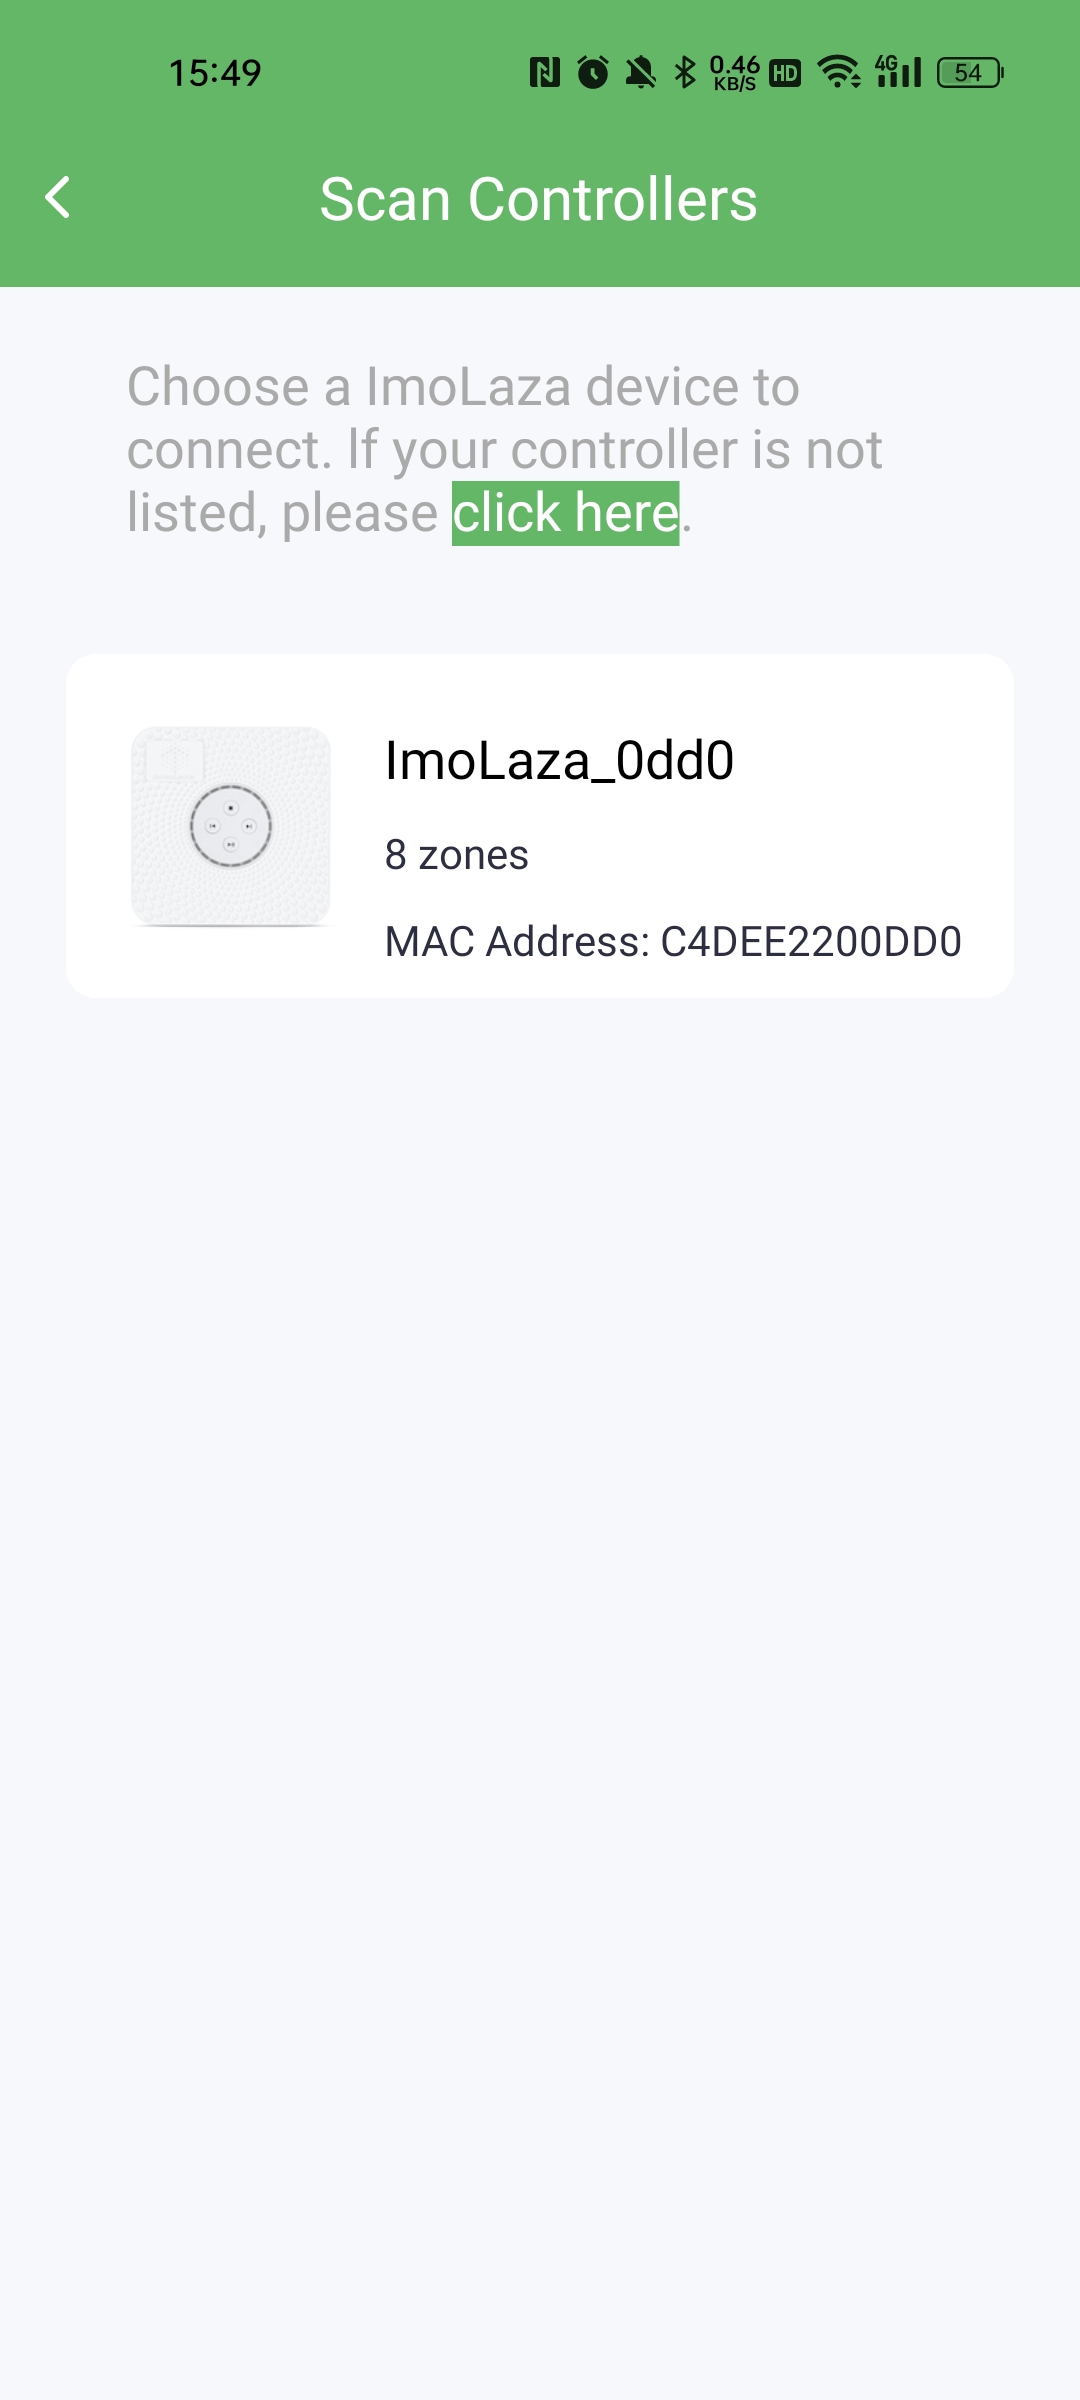
Place your phone within 10 feet of the device. Wait for the app to scan for the device, then tap on your device when it appears.
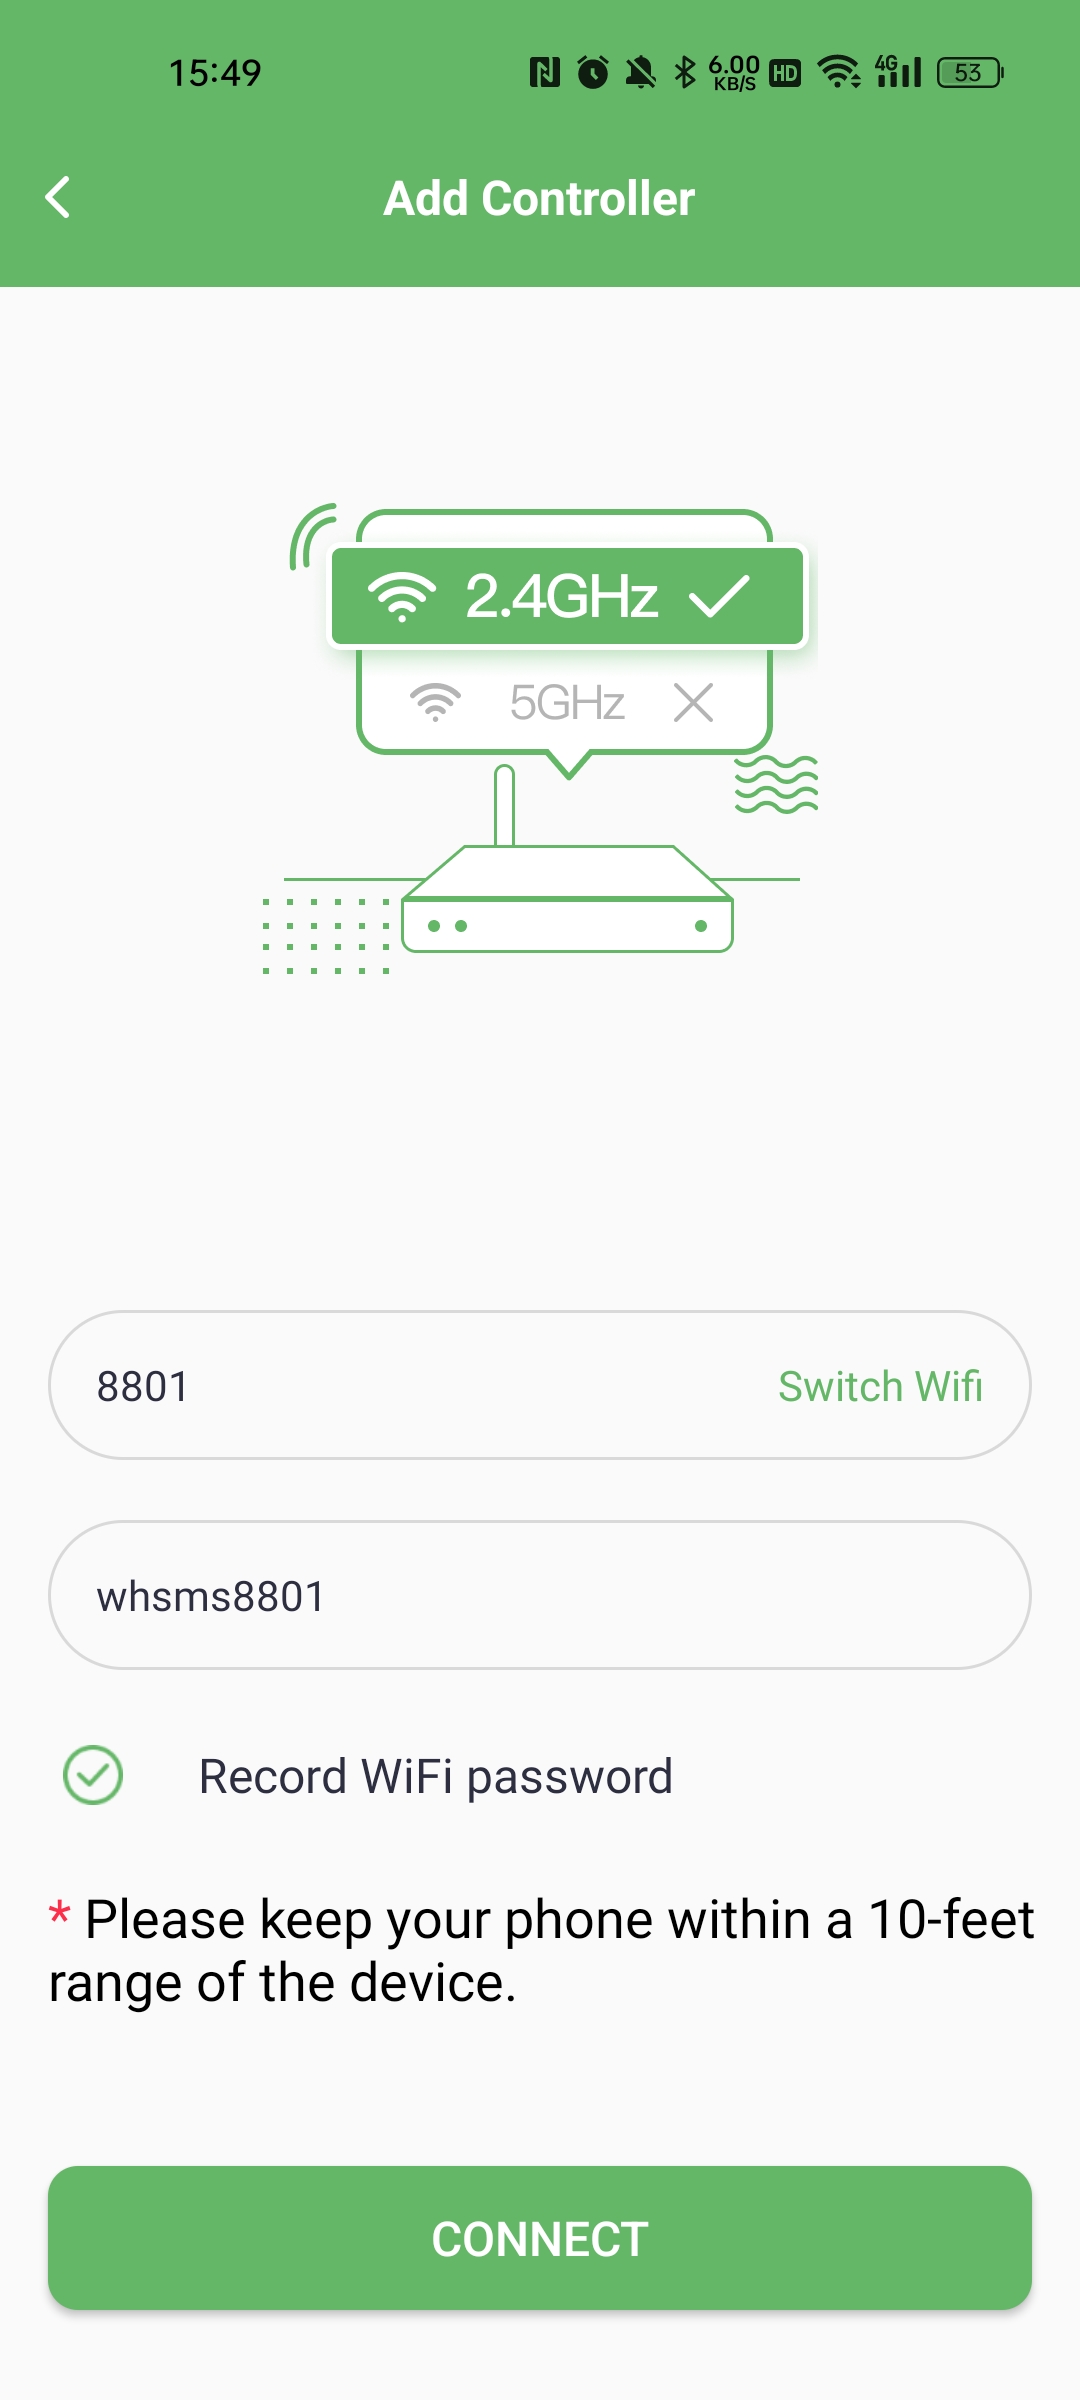
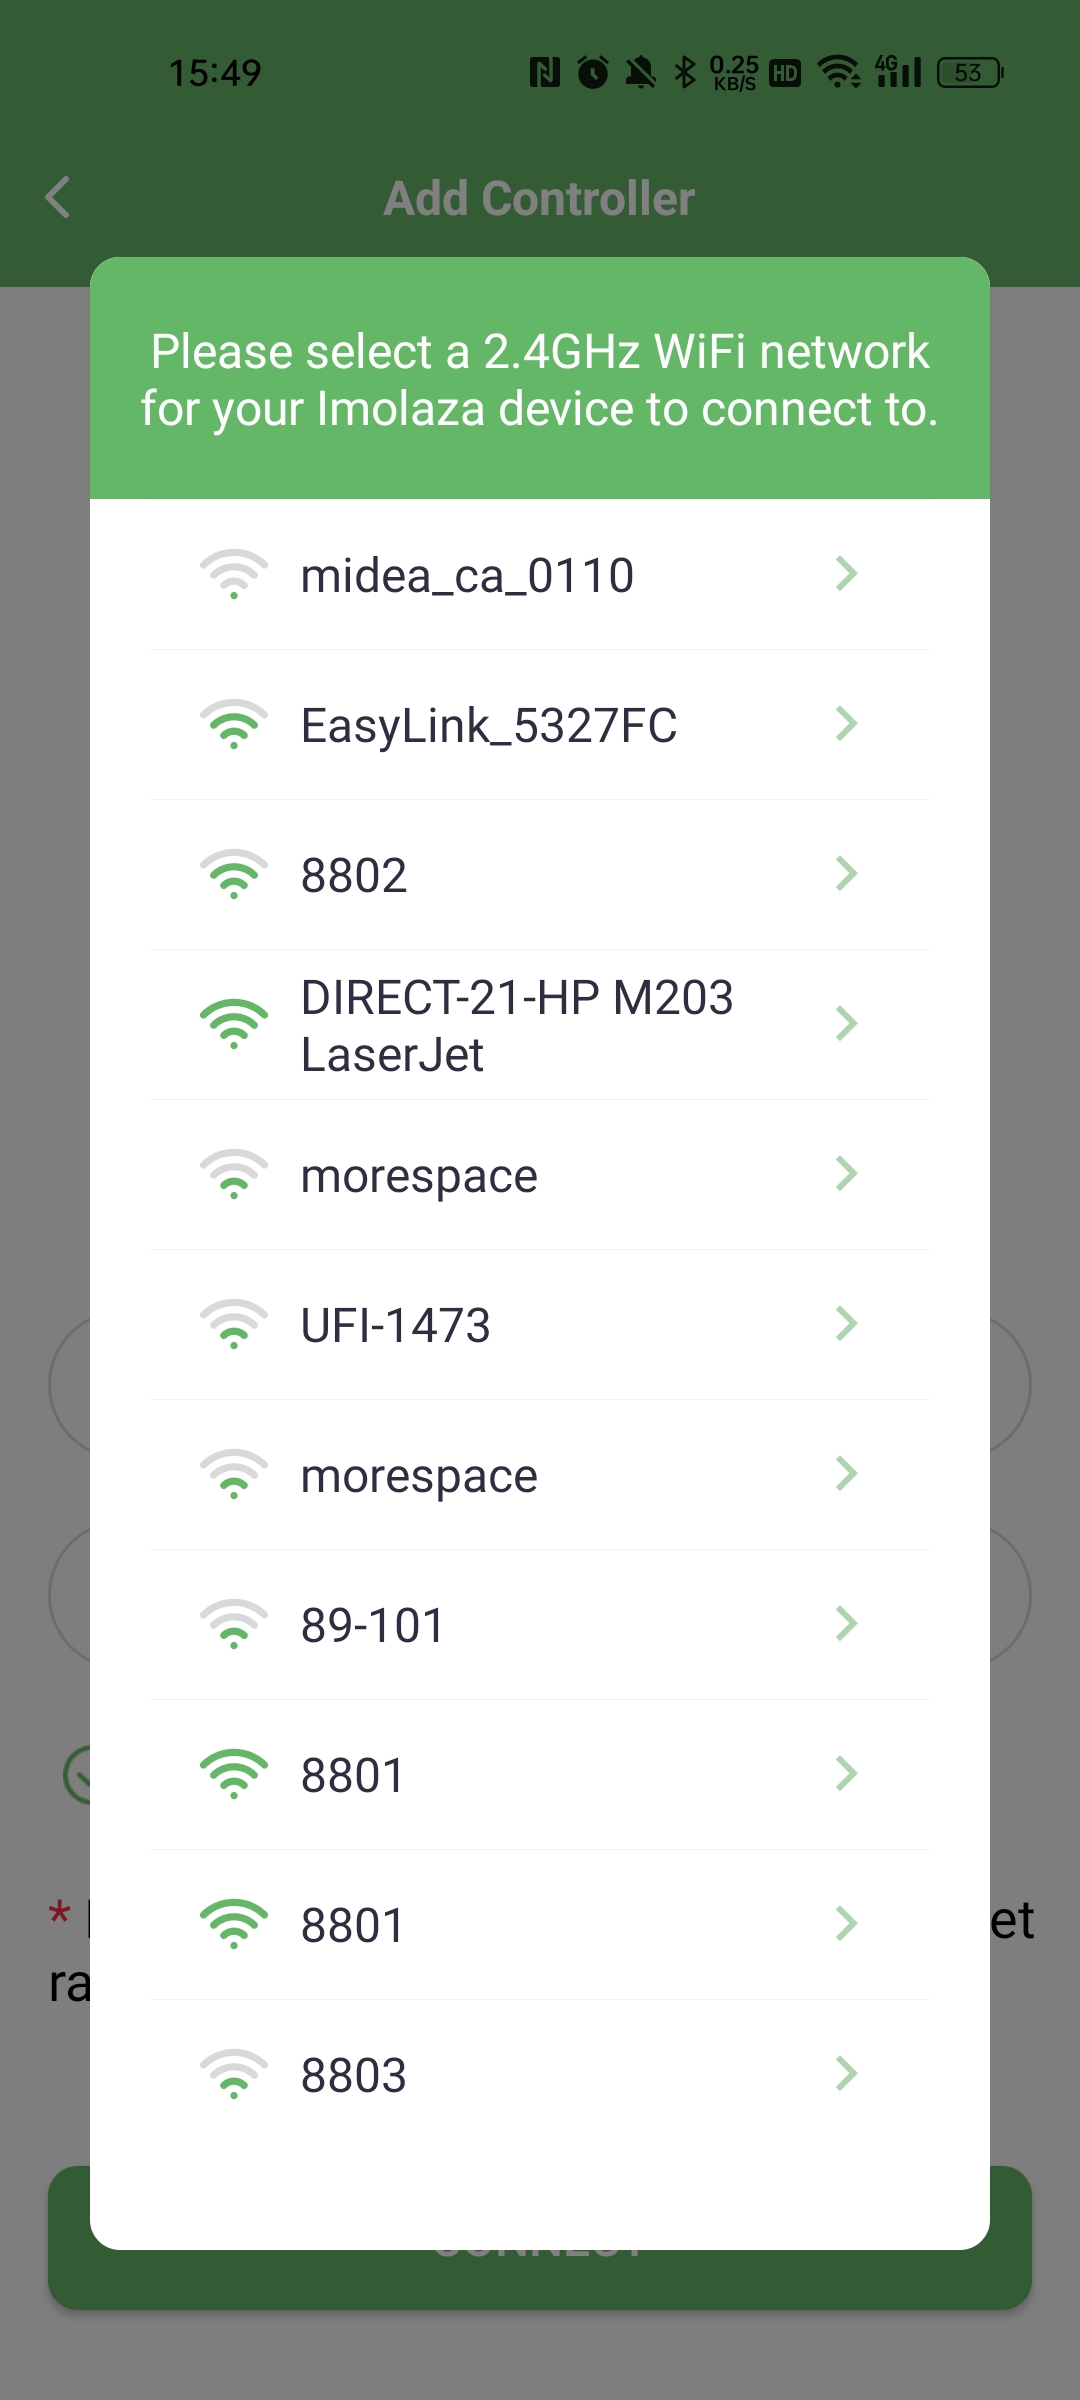
Next, tap the "Switch WiFi" button on the right to get a list of all available WiFi networks, and select the 2.4GHz WiFi network your controller will connect to. Enter the correct WiFi password, then tap the "CONNECT" button at the bottom to start the connection.
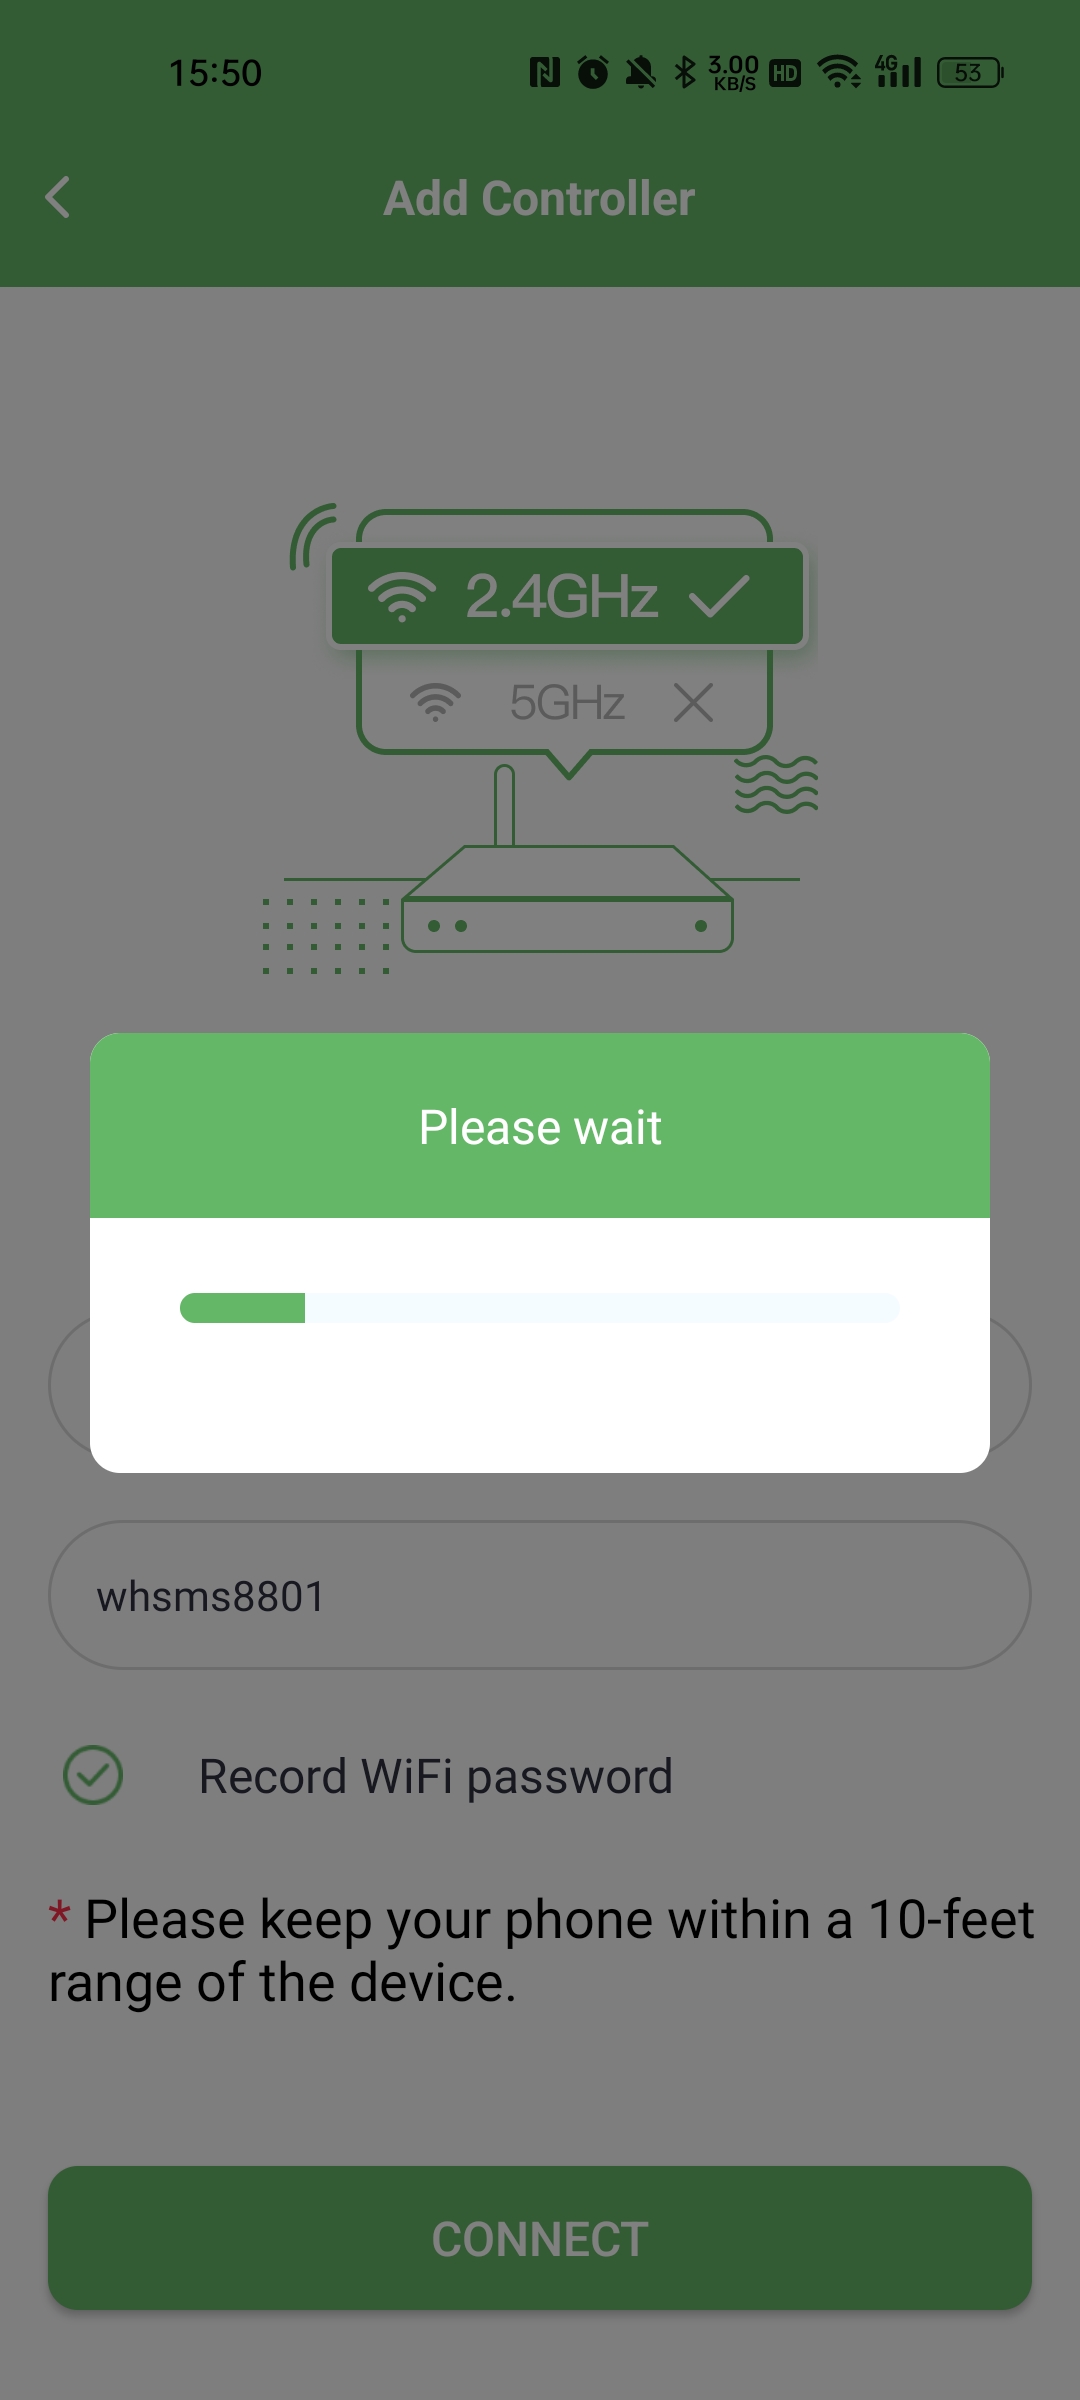
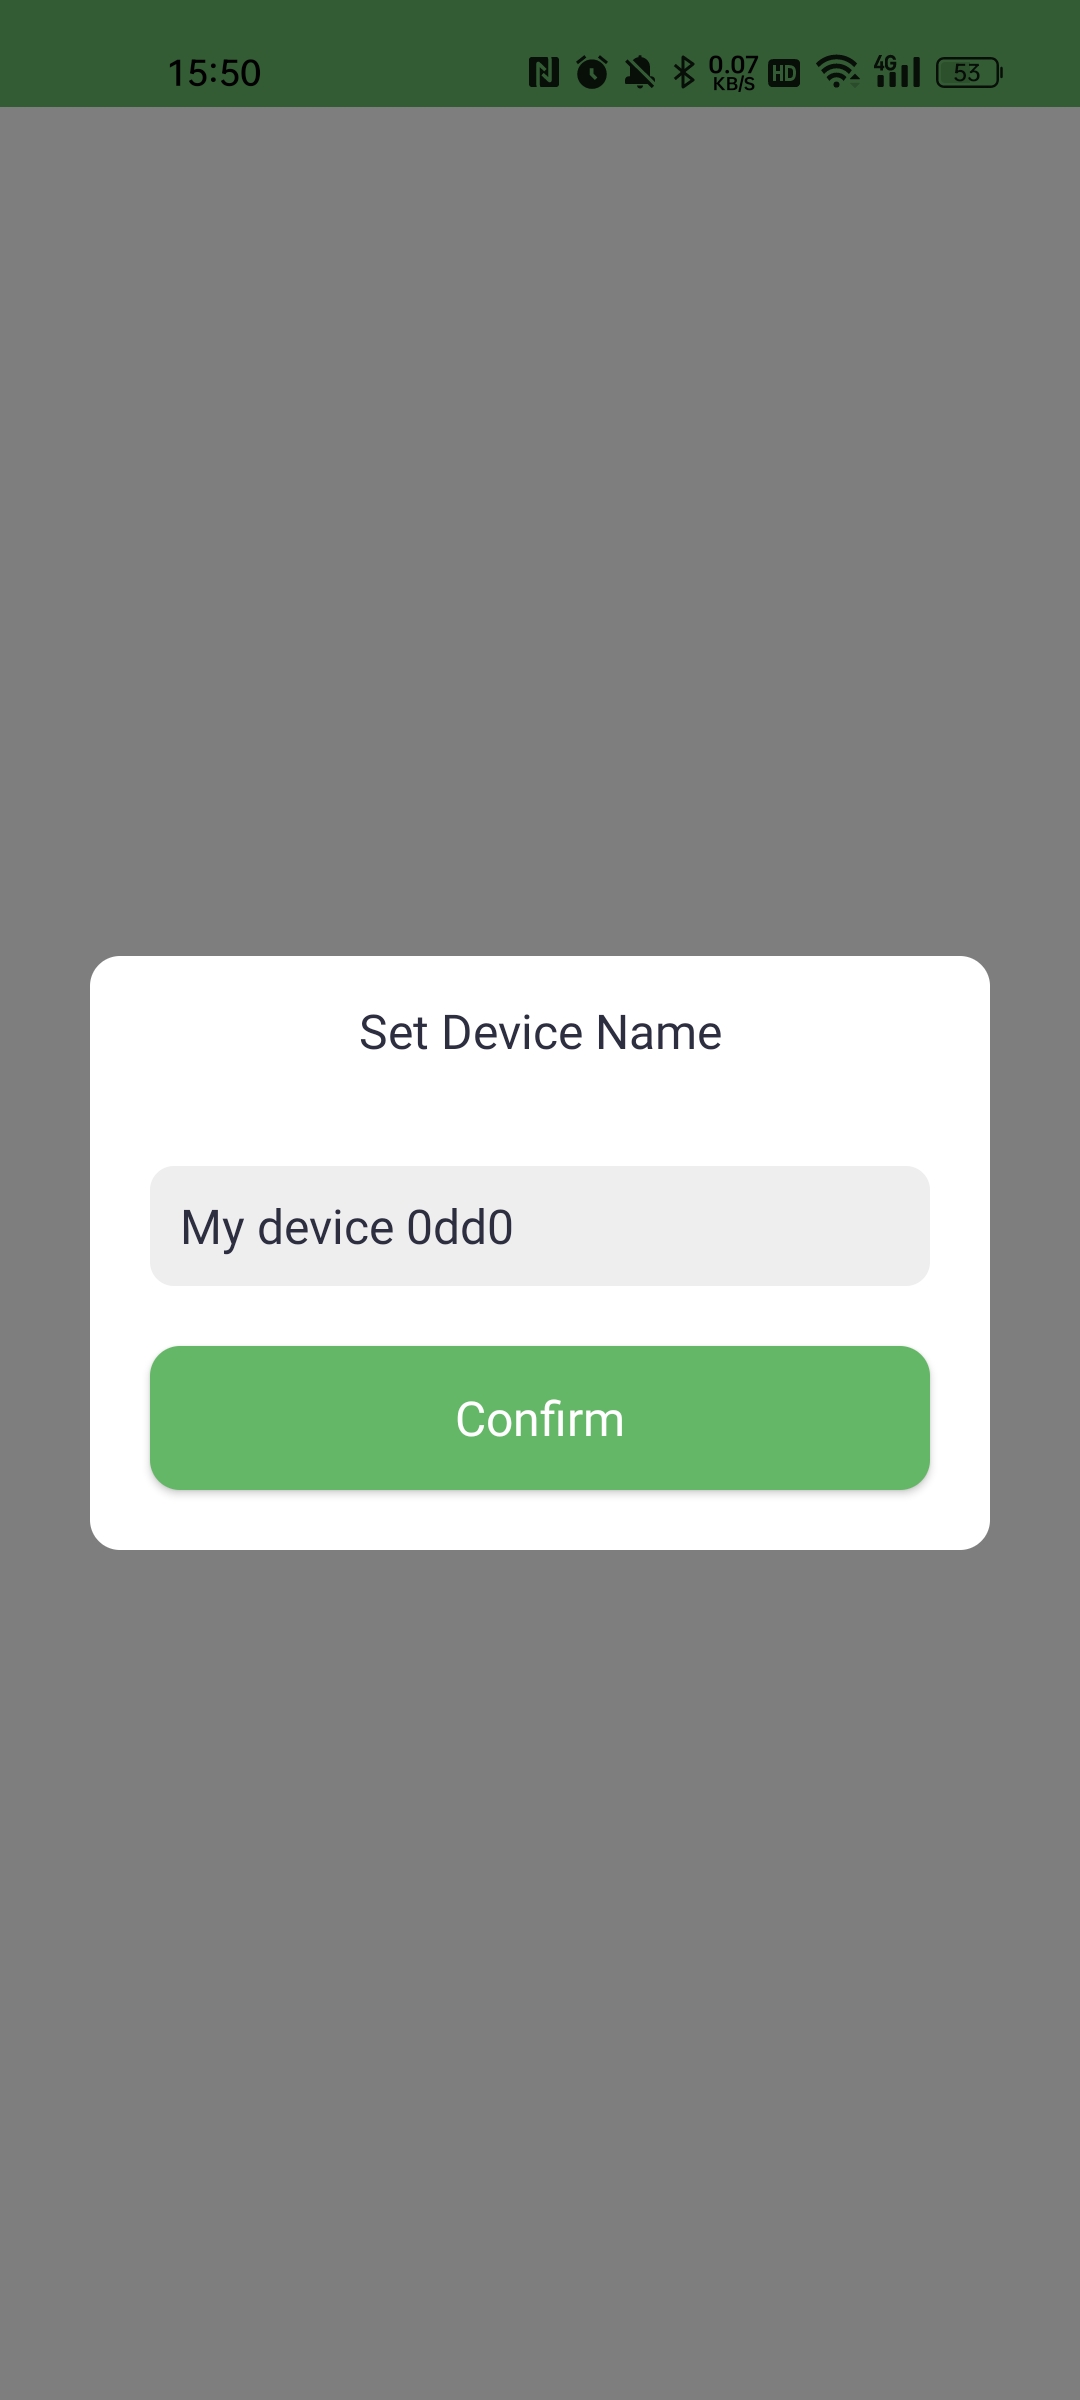
Next, give your controller a personalized name.
Awesome! You have successfully connected the device to your home network. Now, let’s continue by adding information to the device.
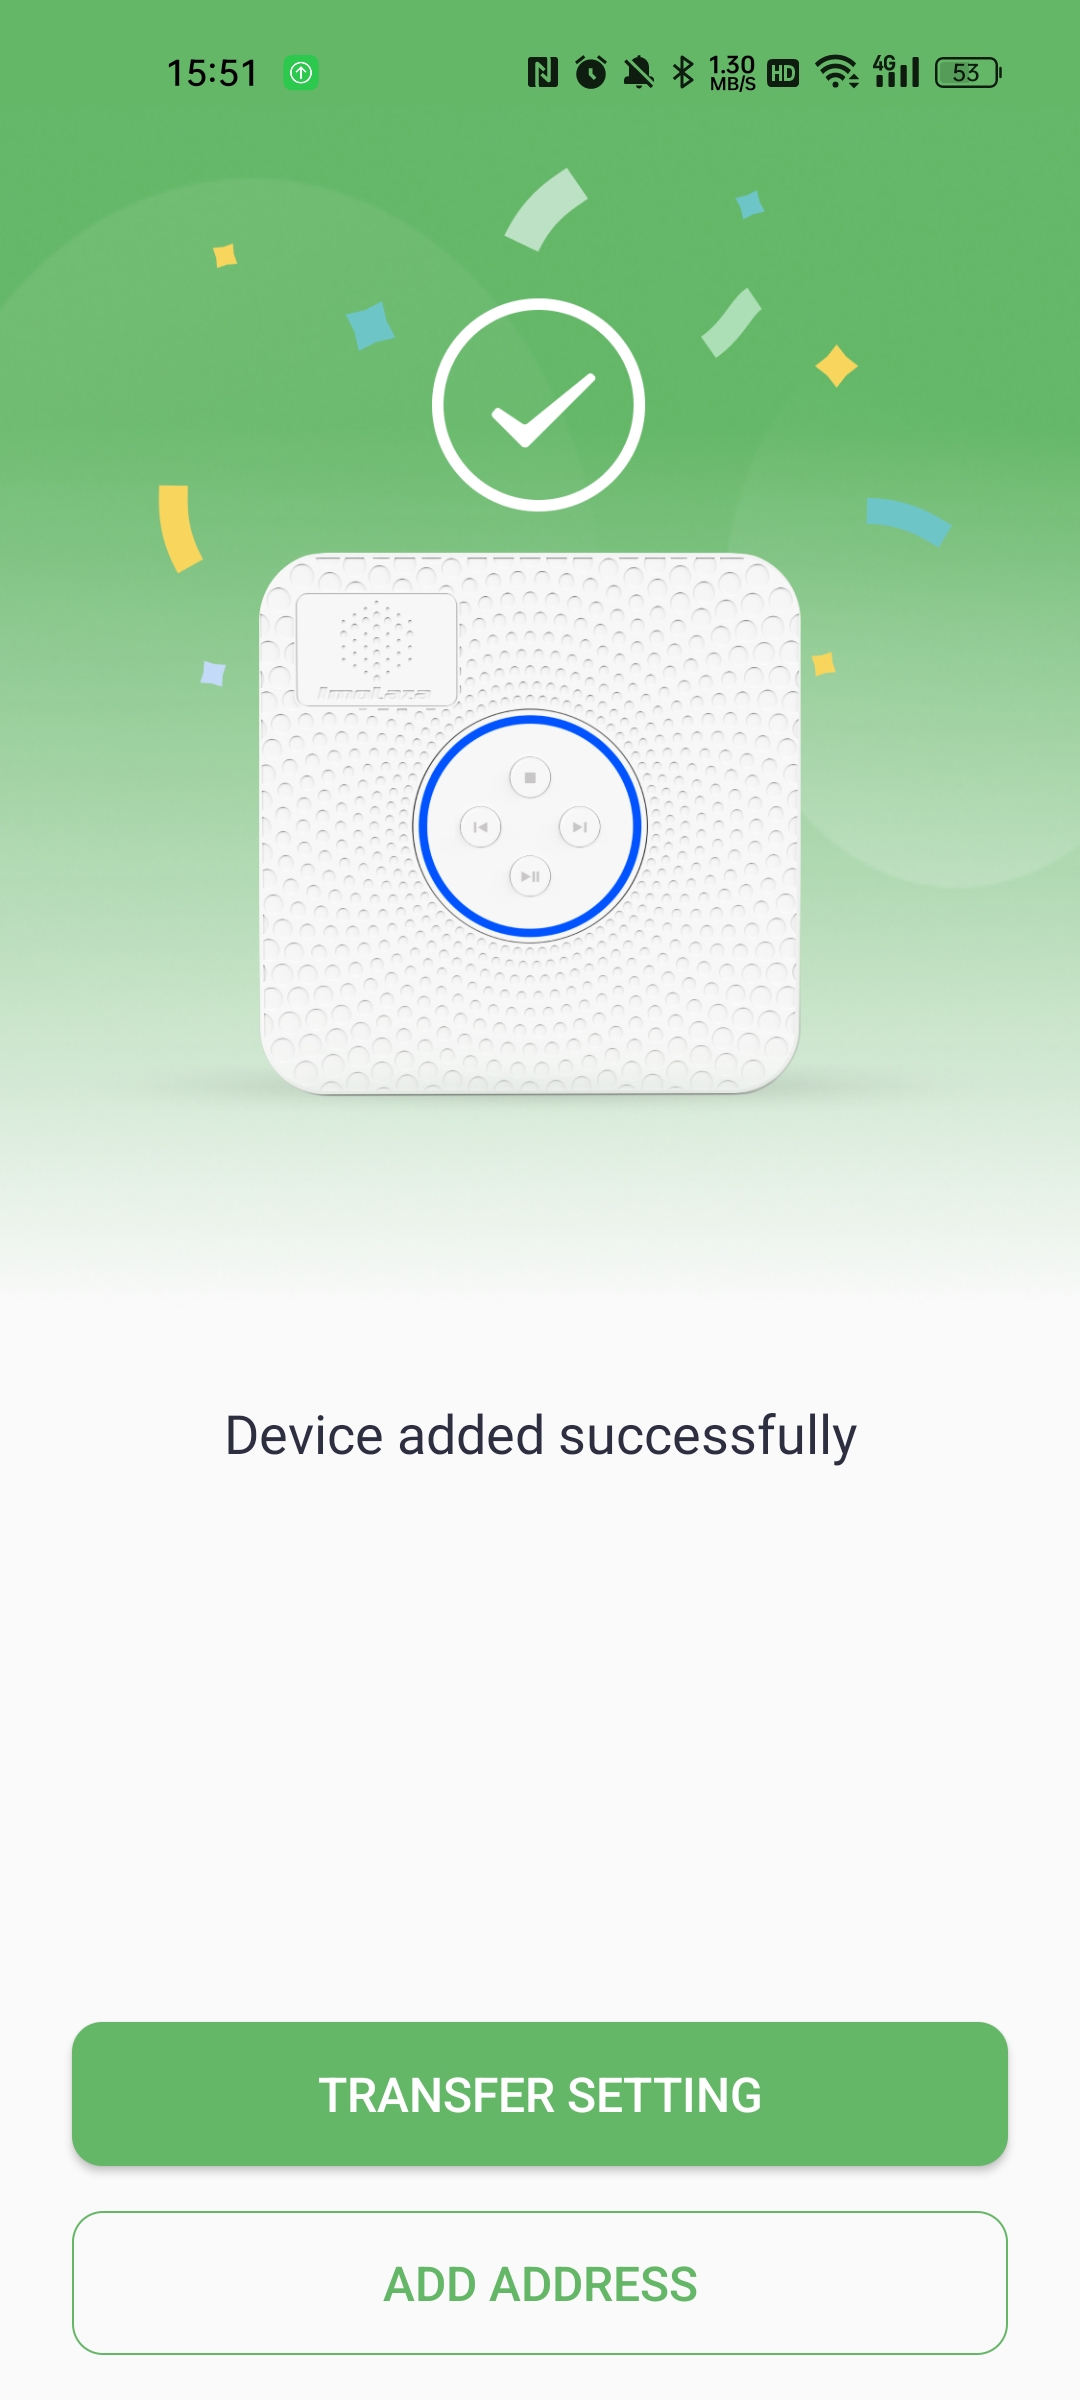
Tap the "ADD ADDRESS" button at the bottom to start setting up the address information. Enter your street address as detailed as possible, as this will affect the weather station you select. We recommend checking "Allow system recommendation" so the system can automatically switch to other available weather stations if needed.
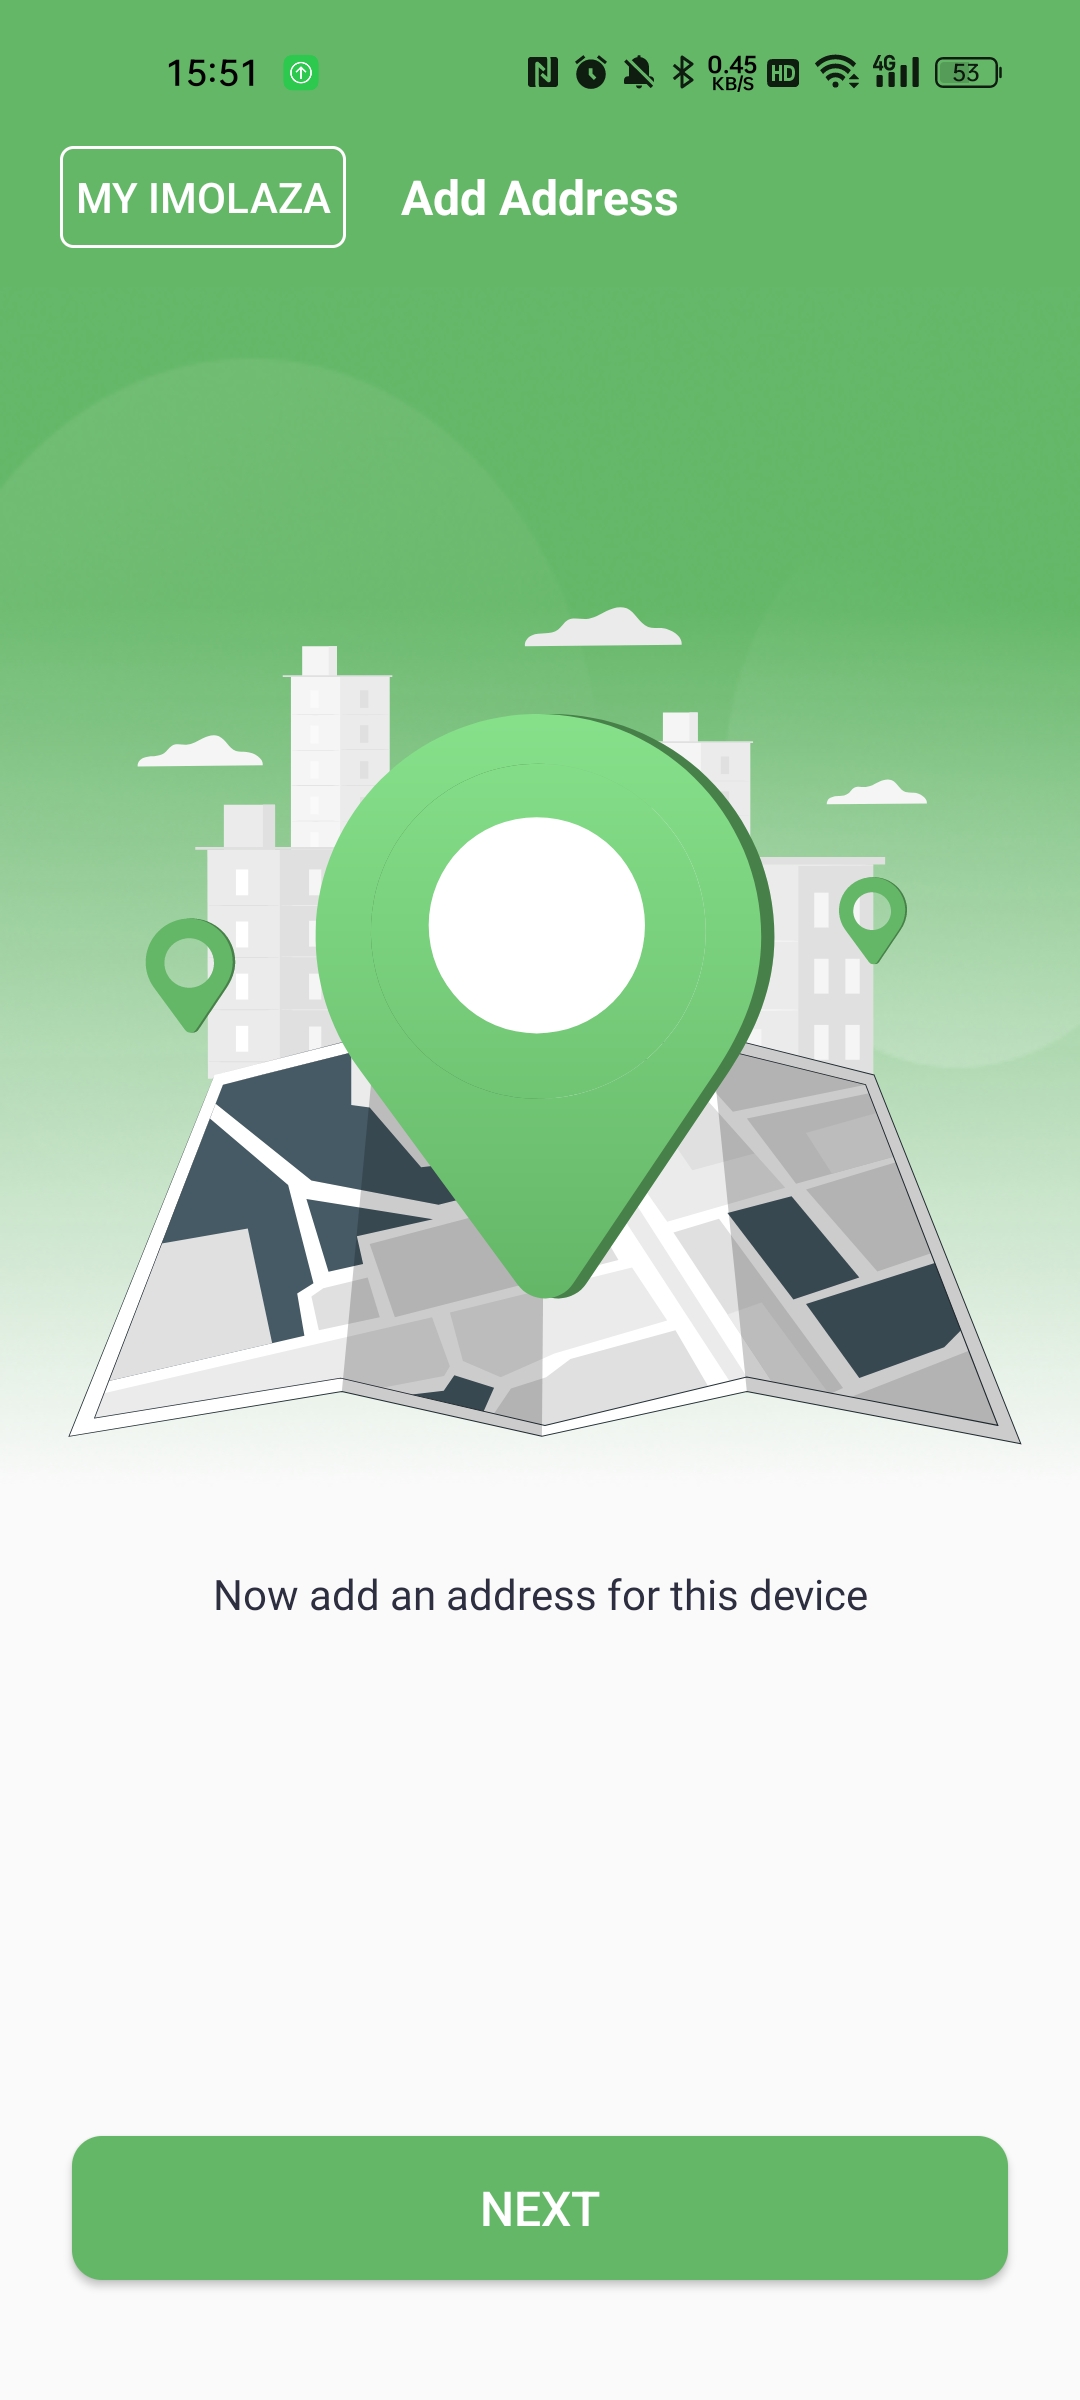
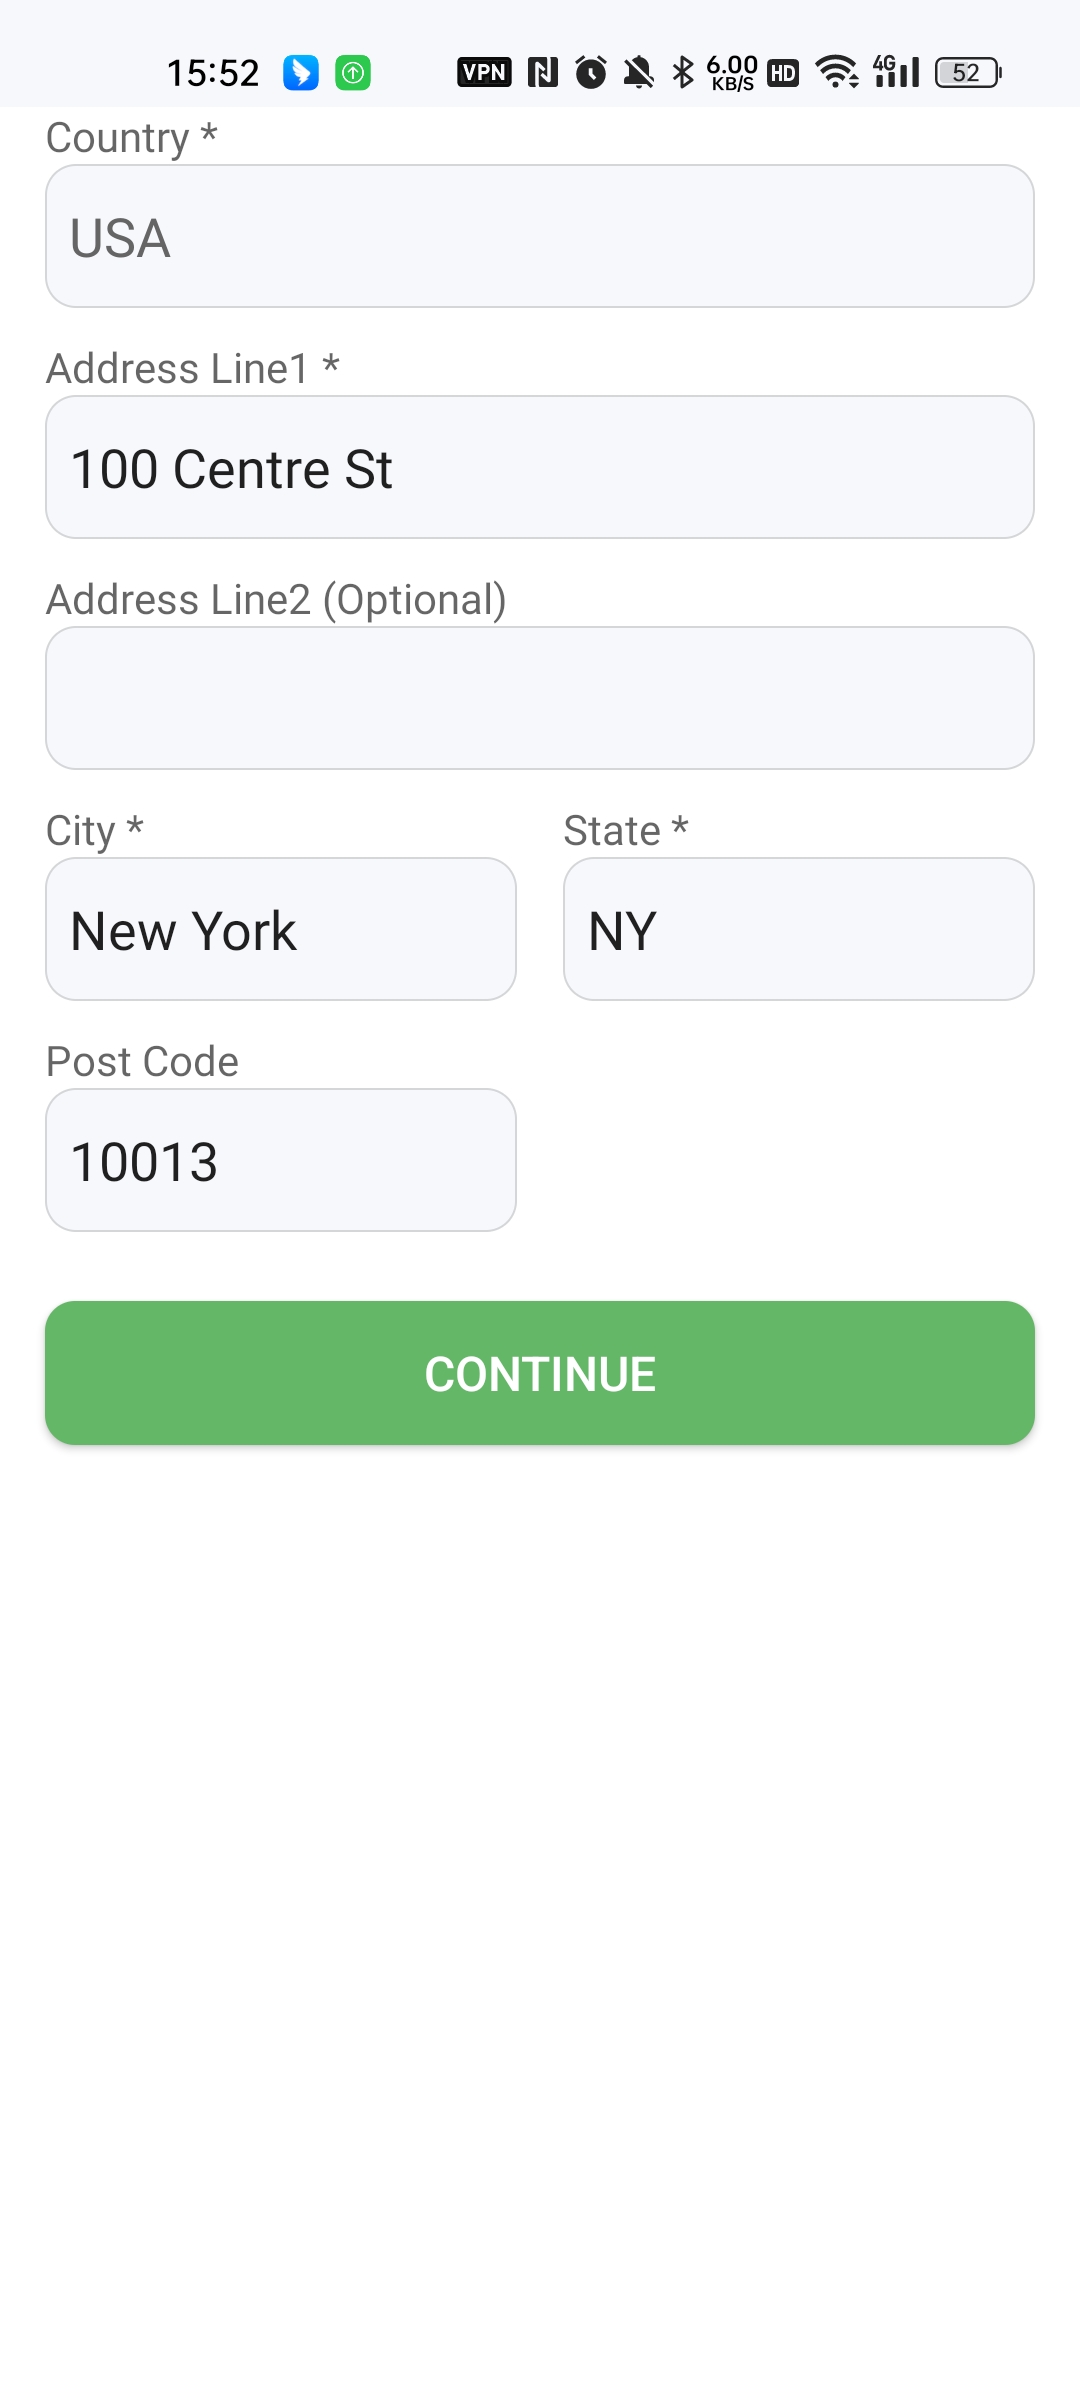
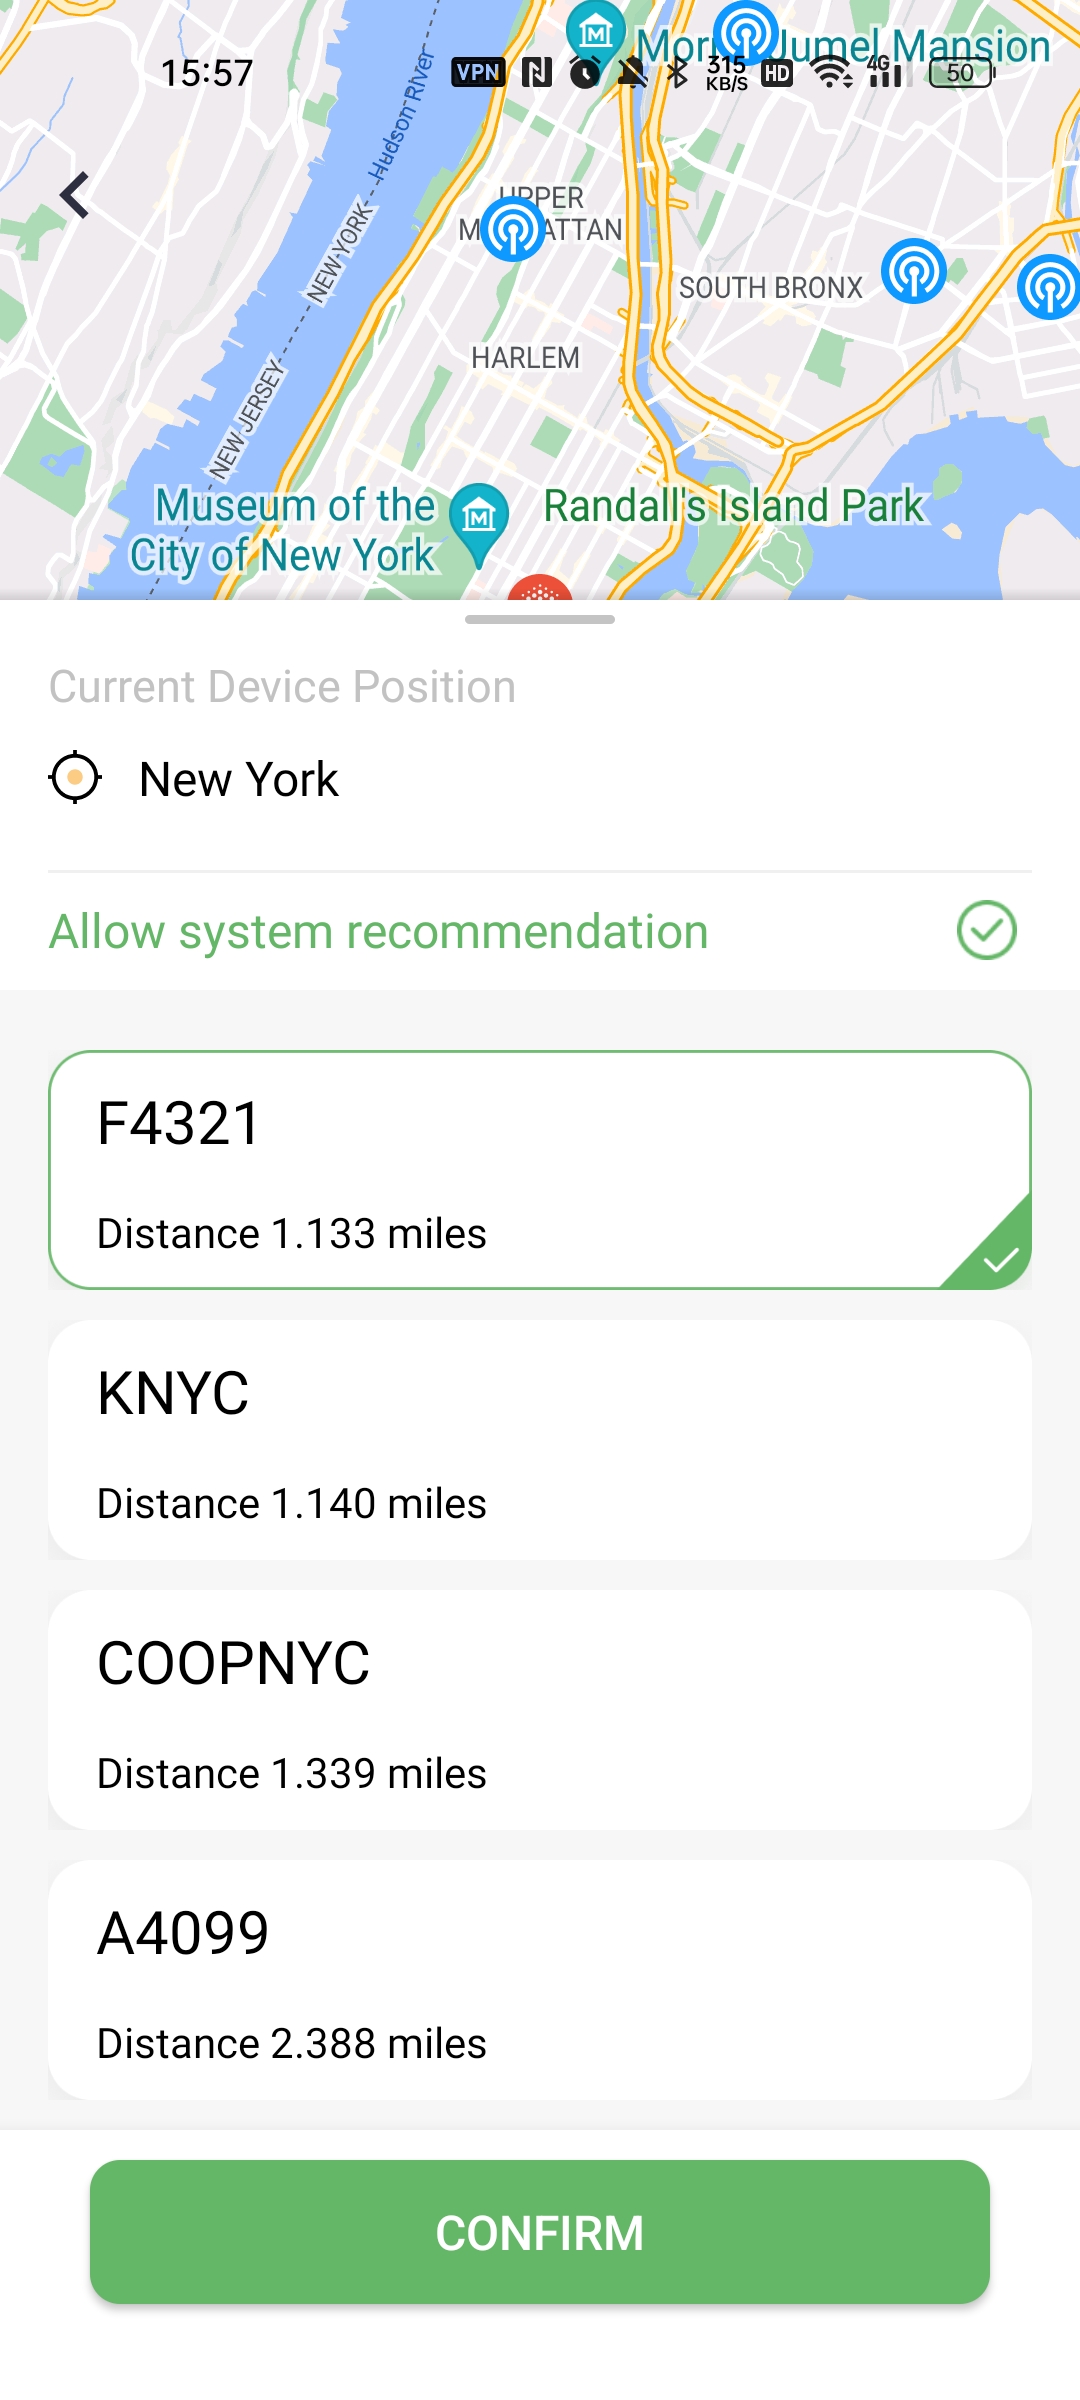
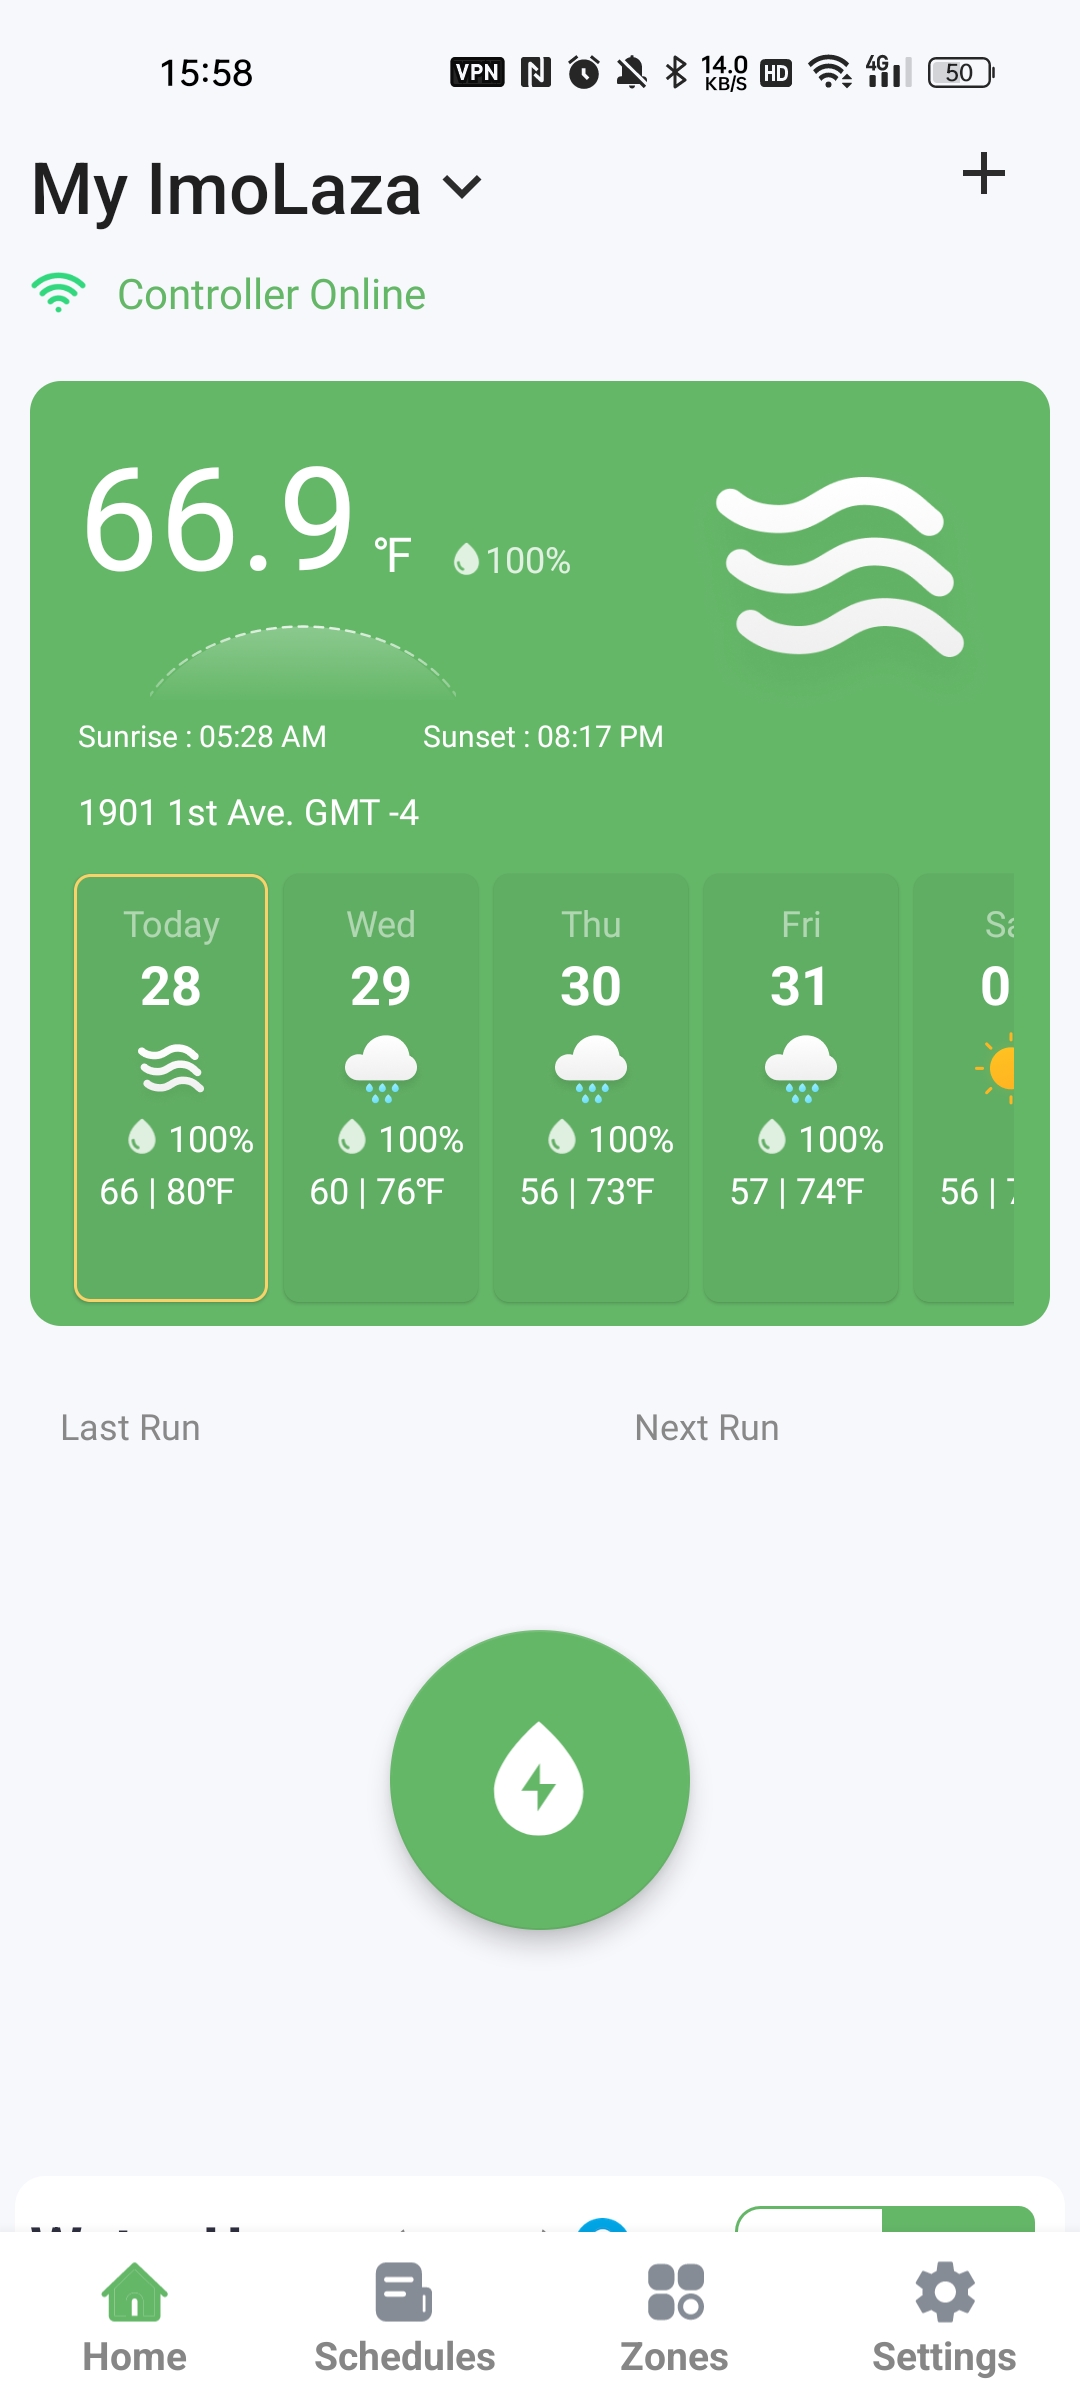
Fantastic! Now you're good to go.
Still need help?
In case the above method doesn’t work for you, please contact our technical support team directly using the contact information below. We will respond to you by email within 12h after your message reaches us.
Email: Support@imolaza.com
